Making PCB Using a CNC Machine
Making a PCB Using a CNC Machine: A Step-by-Step Guide
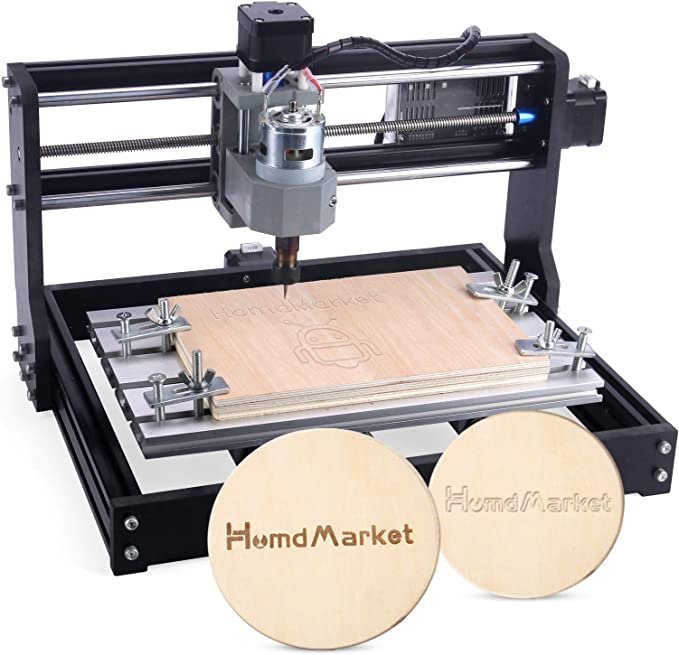
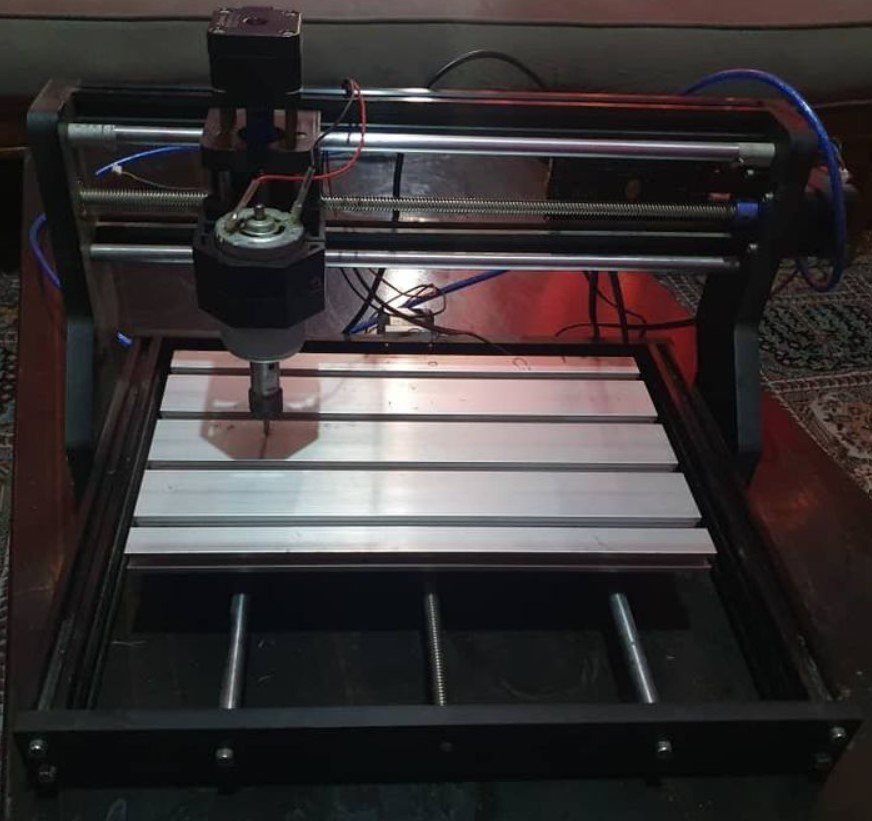
In this project, we will use a CNC machine to create a PCB (Printed Circuit Board). The CNC machine we'll use is the CNC 3018 Pro, a low-cost and versatile tool equipped with a 775 motor for engraving and cutting tasks. This approach allows for precise PCB manufacturing at home without the need for chemical etching.
Tools and Materials Required
- CNC Machine: CNC 3018 Pro (or similar) with a 775 motor.
- Engraving Bit: 20-degree 0.1mm Carbide Engraving Bit for detailed PCB work.
- Drill Bit: For creating component holes.
- Cutting Bit: For cutting the PCB outline.
- PCB Design Software: Any software capable of designing PCB layouts (e.g., KiCad, Eagle, or Altium Designer).
- G-code Generator: FlatCAM to convert PCB designs into G-code for the CNC machine.
- Blower or Fan: To remove PCB dust during engraving.
- Sandpaper: To smooth the PCB surface after engraving.
- Power Supply: For the CNC machine.
- PCB Material: Copper-clad board.

Step-by-Step Instructions
1. Design the PCB Layout
- Design your PCB using software like KiCad or Eagle. Ensure the design matches the capabilities of the CNC machine, such as trace width and spacing.
- Verify that all pads, traces, and vias are suitable for CNC engraving. For this, consult the CNC datasheet or test the machine's resolution and capabilities.
2. Prepare the G-code
- Import your PCB design into FlatCAM.
- FlatCAM will convert the PCB layout into G-code, the format the CNC machine requires to engrave, drill, and cut the board.
- Generate separate G-code files for:
- Engraving the traces
- Drilling the component holes
- Cutting the board outline
3. Setup the CNC Machine
- Secure the copper-clad board onto the CNC work surface using clamps or double-sided tape.
- Insert the 20-degree 0.1mm Carbide Engraving Bit into the CNC machine.
- Ensure the CNC spindle is at the zero position (set X, Y, and Z to 0) for accurate engraving.
- Load the G-code file for engraving into the CNC software.
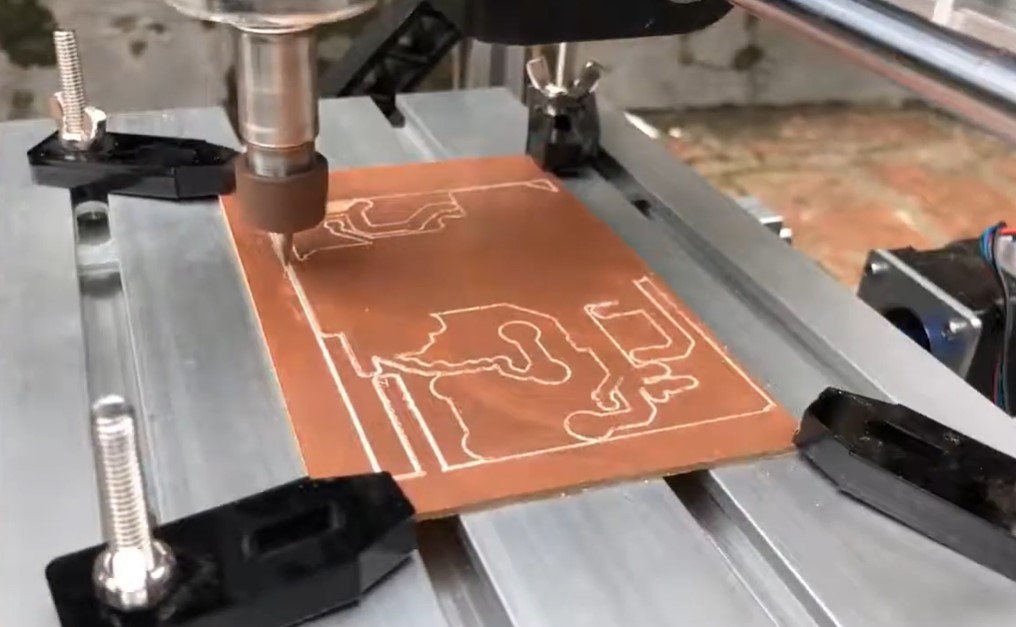
4. Engrave the PCB
- Start the CNC machine to engrave the copper traces.
- Use a blower or powerful DC fan to remove copper dust during engraving, especially in small or intricate areas. This ensures better precision and prevents the bit from clogging.

5. Drill Component Holes
- After engraving is complete, switch the engraving bit to a drill bit.
- Load the G-code file for drilling holes into the CNC software.
- Drill holes for all component pads and vias as specified in your design.
6. Cut the PCB Outline
- Replace the drill bit with a cutting bit.
- Load the G-code file for cutting the PCB outline.
- Carefully cut the PCB edges to the desired shape.
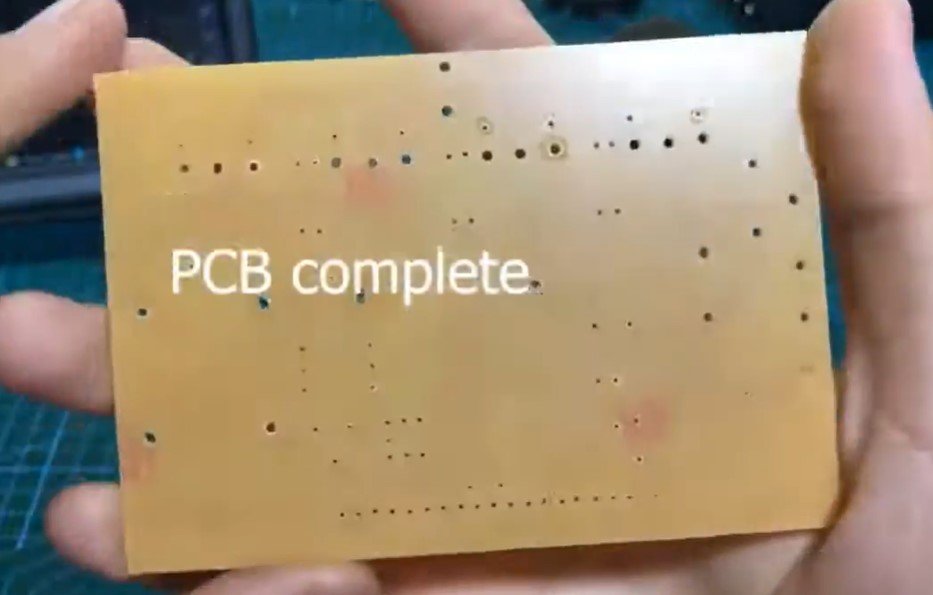
7. Finishing Touches
- Use sandpaper to smooth the edges and surface of the PCB. This removes any burrs or leftover copper dust.
- Clean the PCB thoroughly to ensure proper soldering and electrical connections.
8. Assemble and Test the Circuit
- Solder the components onto the PCB.
- Test the assembled board to verify its functionality.

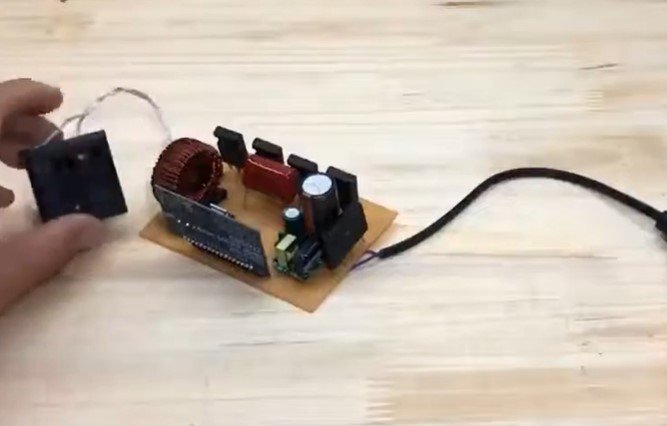
Example: Inverter Board
For this project, we designed an inverter circuit. After following the above steps, the PCB was successfully created and performed exactly as planned during testing. The ability to manufacture this PCB at home using a CNC machine highlights the practicality and precision of this method.

Tips for Better Results
-
Optimize Speeds and Feeds
- Adjust the CNC machine’s spindle speed and feed rate for the best engraving performance. Higher speeds are generally better for fine details, while lower speeds may be needed for drilling and cutting.
-
Dust Management
- PCB dust can hinder the engraving process and cause uneven results. Use a blower or fan to clear the work area continuously.
-
Calibrate the Machine
- Before starting, ensure the CNC machine is calibrated for accurate movement along the X, Y, and Z axes.
-
Practice with Test Designs
- Test your setup with simple PCB designs before moving on to complex layouts.
-
Safety First
- Wear protective goggles and ensure proper ventilation while operating the CNC machine to avoid inhaling PCB dust.
This method of creating PCBs is not only cost-effective but also a fun and educational experience. With the CNC 3018 Pro and the proper tools, you can create professional-quality PCBs for various electronics projects.
Posted by Ali Aslan at Saturday 11th of January 2025 06:49:58 PM