DIY Solar System for Home
Building a DIY Solar System for an Home / Apartment
This project demonstrates how to design and install a DIY solar system for an apartment, focusing on education and cost-efficiency. The goal is to provide a clear understanding of solar systems, including the use of batteries and essential components, while keeping costs as low as possible.

Materials Required
Here are the components we used for the project:
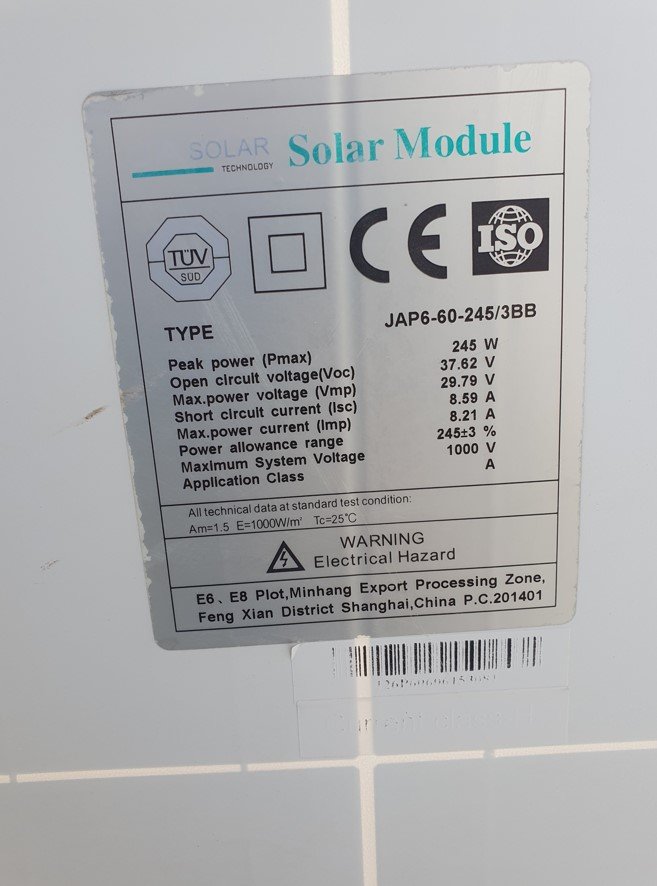
- Solar Panels: Two 245W solar panels to generate power during the day.
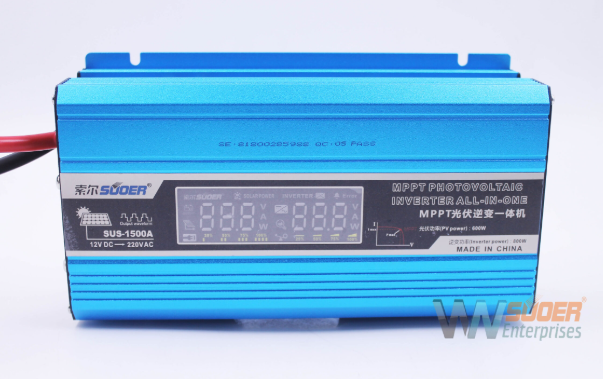
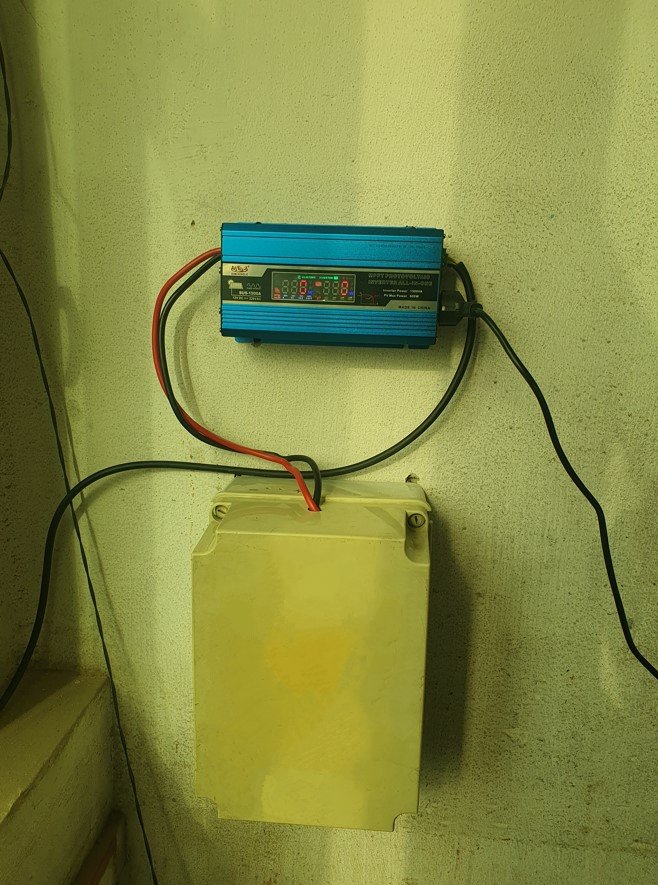
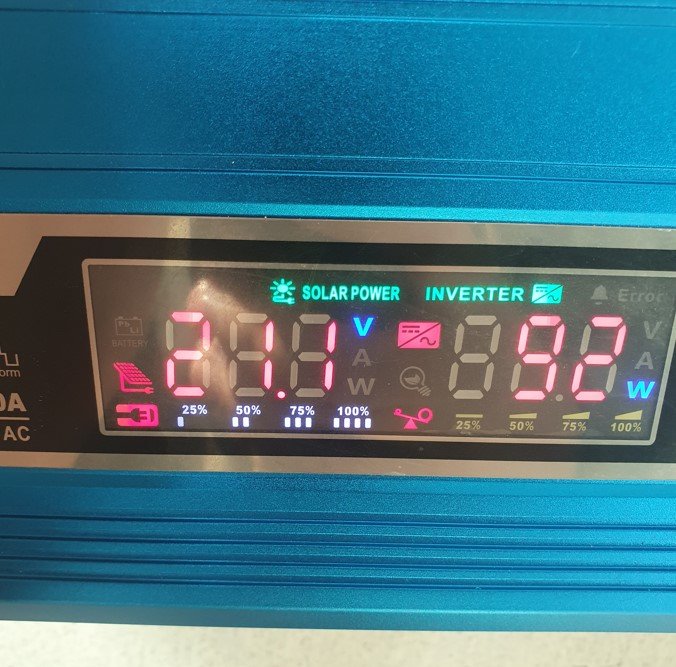
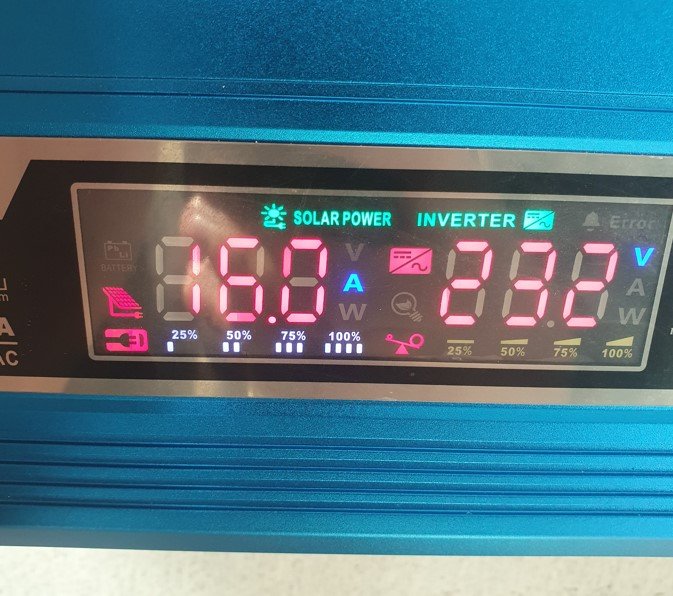
- Inverter: SUOER 1500VA inverter with a built-in MPPT solar charge controller. This inverter was chosen for its affordability and ability to handle apartment lights, a mini-fridge, a desktop computer, and device charging.
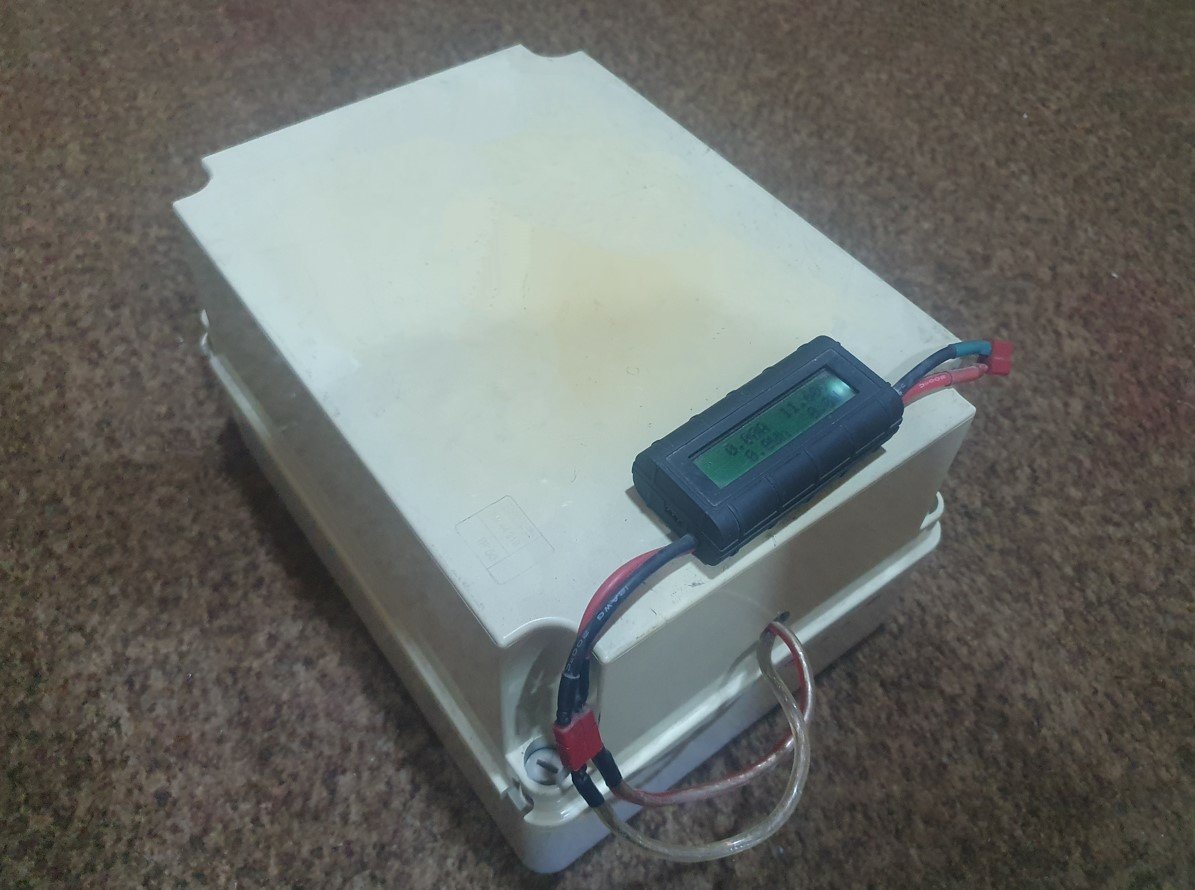
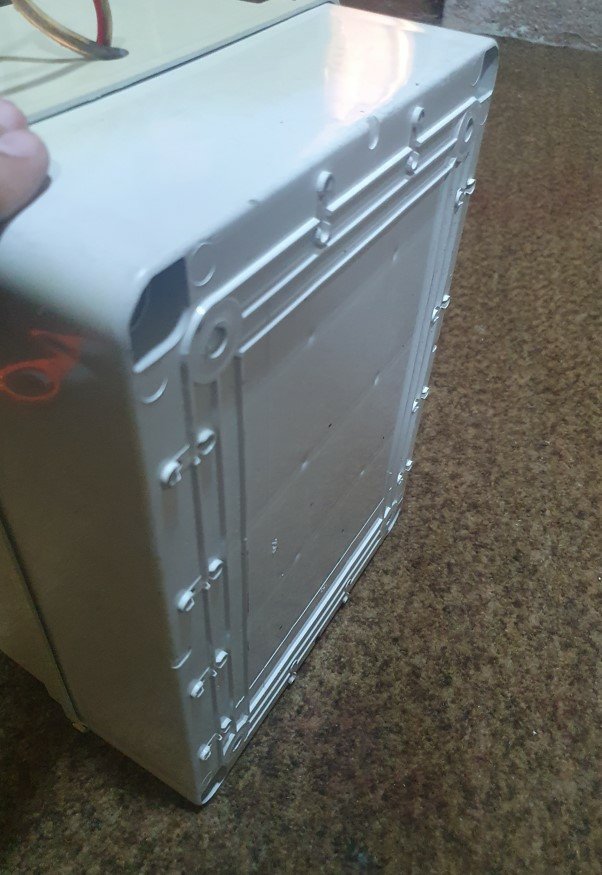
- Battery Pack: A custom-built lithium-ion battery pack (for details on how to make your own, click here).
- Additional Components:
- Changeover switch
- Fuses
- High-gauge wires (solar to inverter and battery to inverter)
- Solar panel mounting stand
- Connection terminals

Building the System
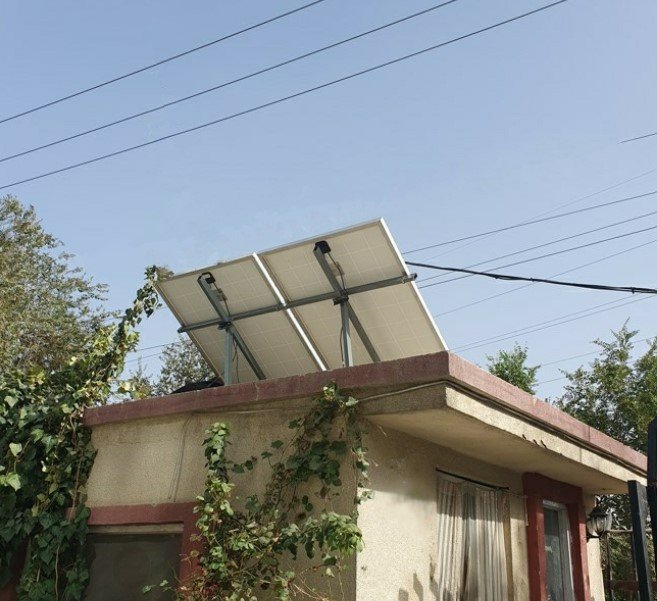
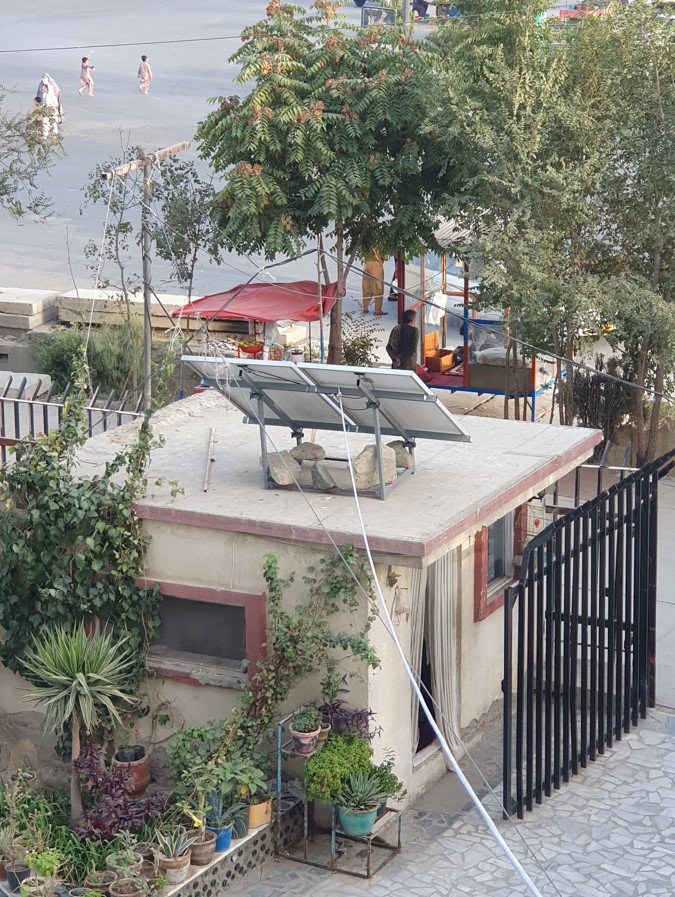
1. Solar Panel Installation
- Install the solar panels securely on the rooftop or balcony using a mounting stand. Ensure they are angled correctly to maximize sunlight exposure.
2. Battery Pack Assembly
- Create a DIY lithium-ion battery pack to store energy generated during the day. This reduces reliance on external power at night. For details on building a battery pack, click here.
3. Nighttime Charging (Optional)
- Use an old laptop adapter to charge the battery at night if needed.
- Modifications: Add a diode to prevent reverse current flow from the solar panels to the adapter during the day. Include a resistor to limit current draw, protecting the adapter from the MPPT controller’s peak power operation.
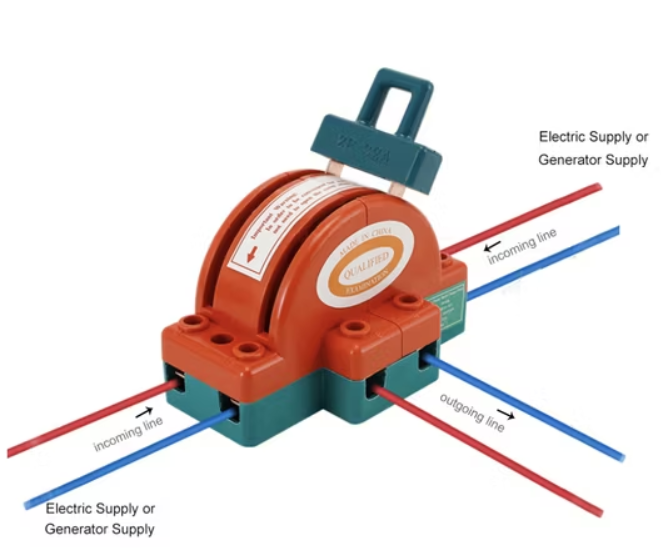
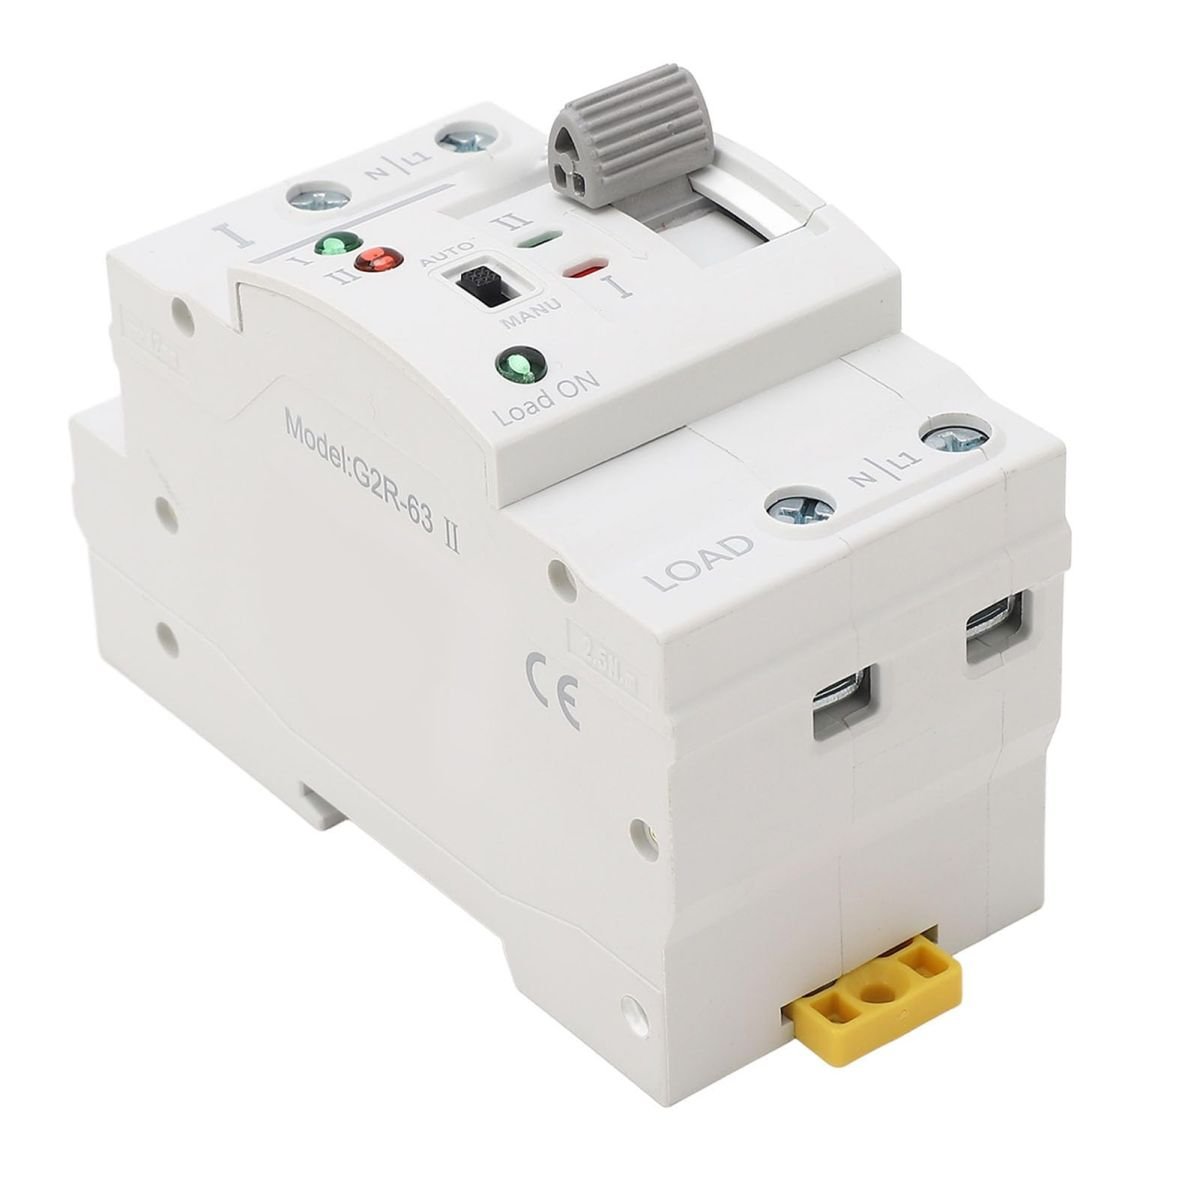
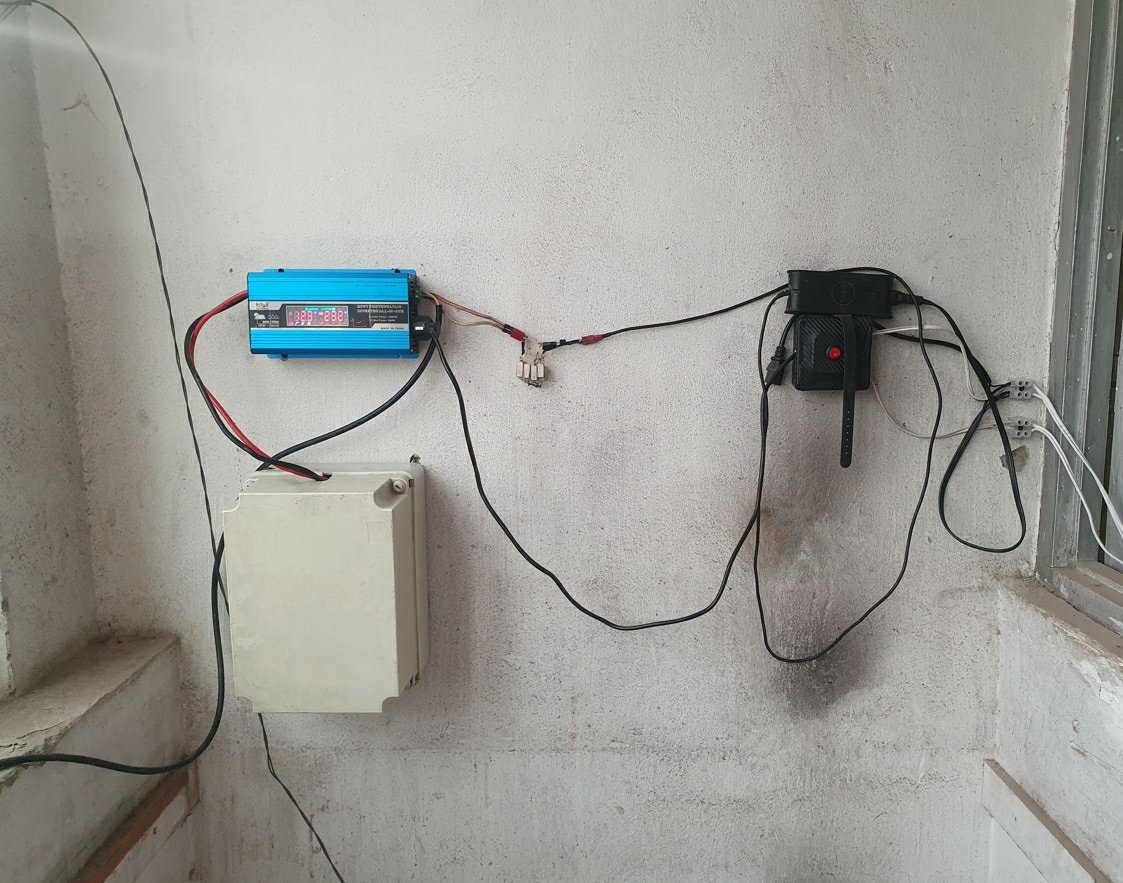
4. UPS Switcher/Changeover Switch
- Build a UPS switcher or use a fast automatic changeover switch to manage seamless transitions between solar, battery, and grid power. For instructions on making your own UPS switcher, click here.
5. Wiring and Connections
- Solar to Inverter: Use high-gauge wires (approximately 50 meters in our case) for efficient power transfer. Shorter cables reduce losses.
- Battery to Inverter: Use very high-gauge red and black cables for safety and reliability. Many inverters, including the SUOER 1500VA, include these cables in the package.
Assembly and Setup
Once all components are ready:
- Position the solar panels and connect them to the inverter using the high-gauge cable.
- Connect the battery pack to the inverter using the provided battery cables.
- Install the UPS switcher or changeover switch to manage power transitions.
- Double-check all connections, ensuring proper polarity and secure joints to avoid voltage drops or short circuits.
Benefits of the System
- Daytime Power: Solar panels charge the battery while powering appliances directly.
- Nighttime Backup: The custom battery pack provides power after sunset.
- Grid Assistance: The UPS or changeover switch ensures seamless fallback to grid power if needed.
This project not only powers essential appliances but also serves as an educational exercise in renewable energy systems. It's an affordable, scalable solution that demonstrates how solar power can be implemented in urban apartments.
Steps to Build a DIY Solar System
This guide outlines the steps we followed to build a cost-efficient DIY solar system for an apartment. The goal was to create a functional, reliable setup that powers essential appliances using renewable energy.
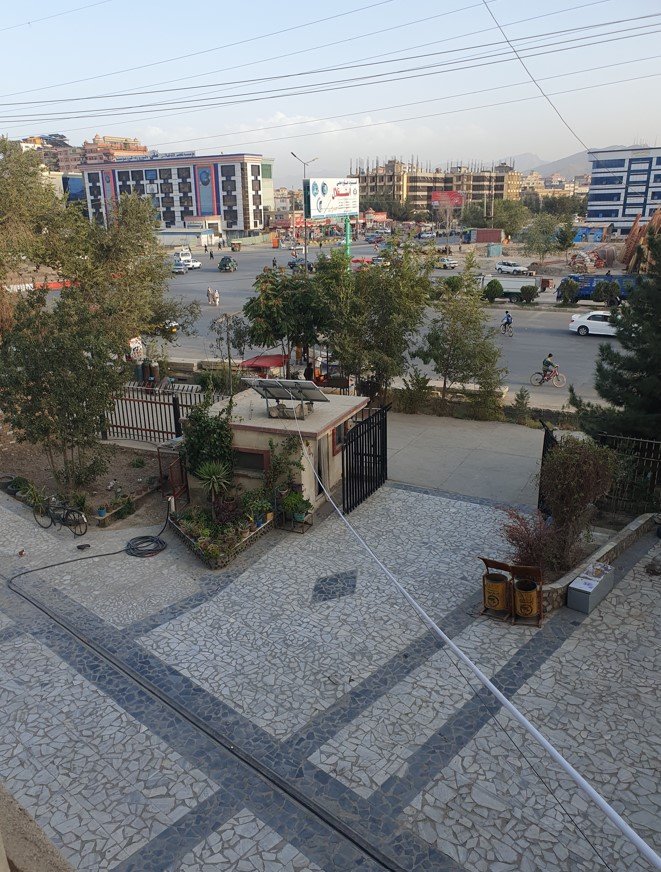
1. Selecting the Installation Location
- Location: Chose a rooftop area with no shade and good sunlight exposure throughout the day.
- Solar Stand: Installed a stand for two solar panels.
- Secured the stand tightly with bolts.
- In my case, I placed heavy stones under the solar panels for added stability and tested by shaking and pushing it to ensure it was firmly in place.
2. Installing and Wiring Solar Panels
- Mounting: Mounted two 245W solar panels onto the stand.
- Wiring:
- Connected the solar panels in parallel since the inverter’s maximum solar input was 45V, and each panel's voltage was 37.62V. Parallel connections maintain the voltage while doubling the current.
- Ran cables from the solar panels to the inverter’s solar input, securing them with holders for safety and neatness.
- Testing: Tested the solar panels and inverter to confirm proper functionality before finalizing connections.

3. Setting Up the Battery
- Battery Specifications: Installed a 2kWh custom-built lithium-ion battery.
- Mounting: Mounted the battery securely on the wall under the inverter.
- Connections: Connected the battery to the inverter using the provided high-gauge cables.


4. Adding a Nighttime Charging System
- Installed a DC adapter with a resistor and diode to allow nighttime charging of the battery using an old laptop adapter.
- Resistor: Prevented overcurrent, protecting the adapter.
- Diode: Prevented reverse current flow from the solar panels to the adapter during the day.
5. Installing the UPS Switcher and Changeovers
- UPS Switcher:
- Installed a DIY UPS switcher to ensure uninterrupted power.
- Function: Automatically switches the load to the inverter during power outages and back to the grid when main power returns.
- Changeovers:
- Added two changeover switches:
- One for small loads (e.g., lights, desktop computer, and small appliances).
- Another for heavy loads (e.g., kitchen and bathroom appliances).
- This allowed flexibility in controlling which loads run on solar and which remain powered by the grid.
- Added two changeover switches:
6. Final Connections and Testing
- Fuse Protection: Connected the main power to the UPS switcher through a fuse for added safety.
- Load Connections: Wired the output from the changeovers to the house’s fuse box.
- Testing:
- Tested the system with small loads first, ensuring smooth operation.
- Verified solar charging during the day and adapter charging at night.
- Tested the inverter’s output under different loads to confirm everything worked seamlessly.

System Performance and Cost
- Components:
- 2x 245W solar panels
- 2kWh battery
- 1500W SUOER inverter with a 600W MPPT solar charge controller
- Cost: Approximately $500 for the entire setup.
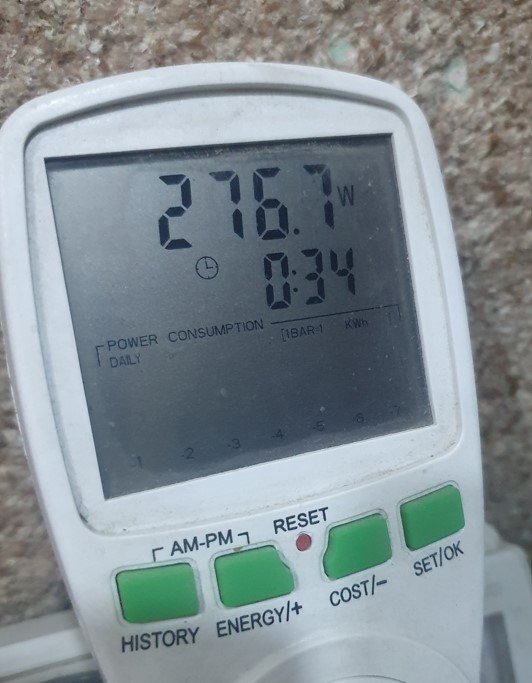
- Performance: After months of operation, the system proved to be highly reliable and efficient, powering the apartment during outages and significantly reducing electricity bills.
Benefits of the System
- Daytime Power: Runs directly on solar energy.
- Nighttime Backup: The battery provides power after sunset or during outages.
- Hybrid Capability: Automatically combines solar and battery power when solar input is insufficient.
- Cost-Efficient: With a 2kWh battery and ~500W solar input, the system delivers great value for its low cost.
This DIY solar project demonstrates how to create a sustainable and affordable energy solution, offering independence from the grid while providing a reliable power source for essential needs.
Diagram:

Posted by Ali Aslan at Saturday 11th of January 2025 01:26:55 PM