DIY RC Helicopter
DIY RC Helicopter
Introduction:
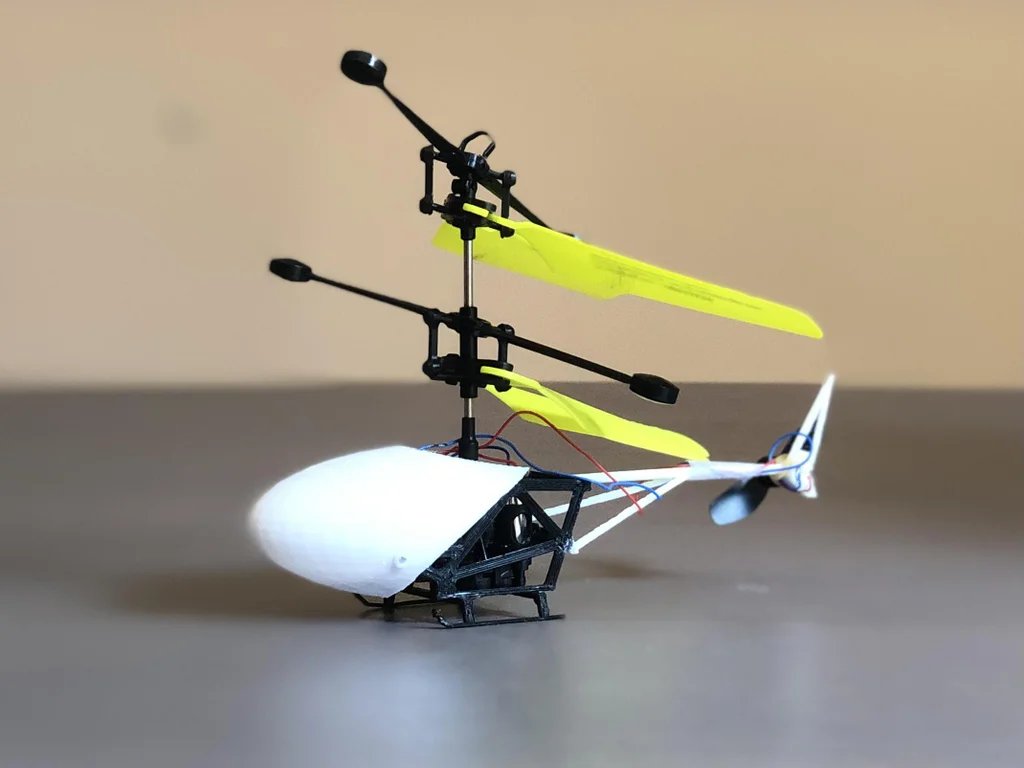
aking a DIY foam radio-controlled helicopter can be a fun and rewarding project. This project can provide an opportunity to learn about the fundamental principles of helicopters and the principles of remote control systems. Building a homemade helicopter can also be a great way to develop skills such as problem-solving, mechanical design, and creativity.
The Fundament of Helicopters:
A helicopter is an aircraft that relies on lift generated by rotating blades powered by an engine. Helicopters can take off and land vertically and fly in any direction. A typical helicopter has three main components: the main rotor, tail rotor, and powerplant. The main rotor provides lift for the helicopter and controls the helicopter's forward and backward movement. The tail rotor provides directional control, preventing the helicopter from spinning.
How to Build a DIY Foam Radio-Controlled Helicopter:
Building a DIY foam radio-controlled helicopter requires some basic tools and materials. The materials required for this project include foam sheets, a remote control system, a brushless motor, propellers, and batteries. The tools required include a hobby knife, a cutting board, a ruler, glue, and a soldering iron.
Step 1: Design the Helicopter:
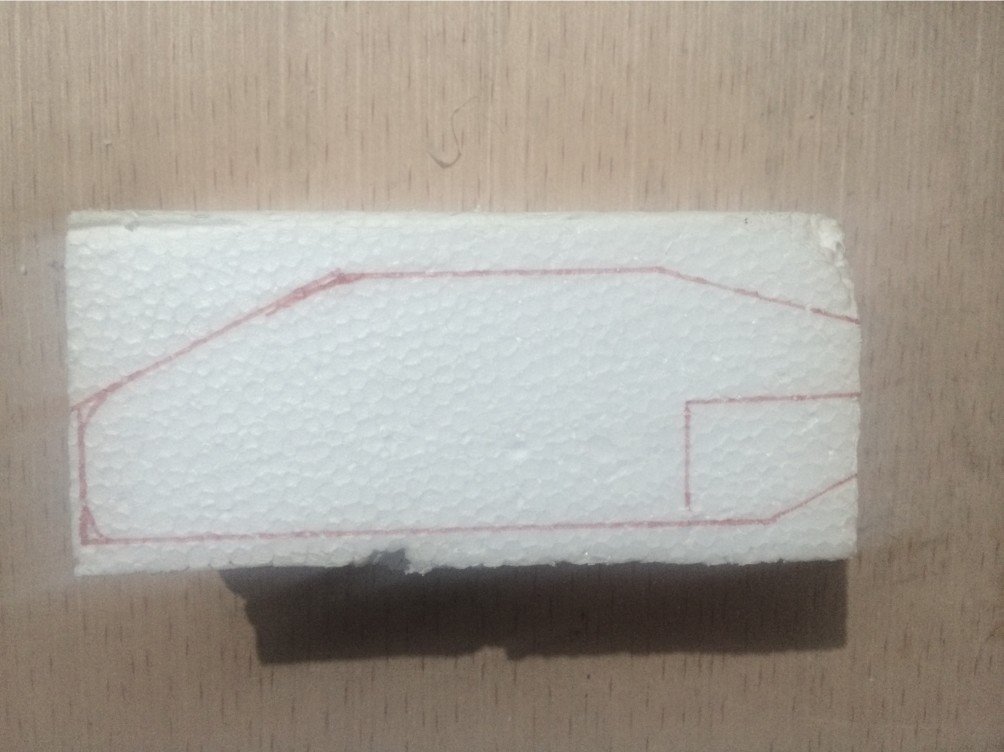
The first step in building a DIY foam radio-controlled helicopter is to design the helicopter. This can be done using basic software or even with a paper and pen. The design should include the size and shape of the main rotor, tail rotor, and fuselage.

Step 2: Cut the Foam Sheets:
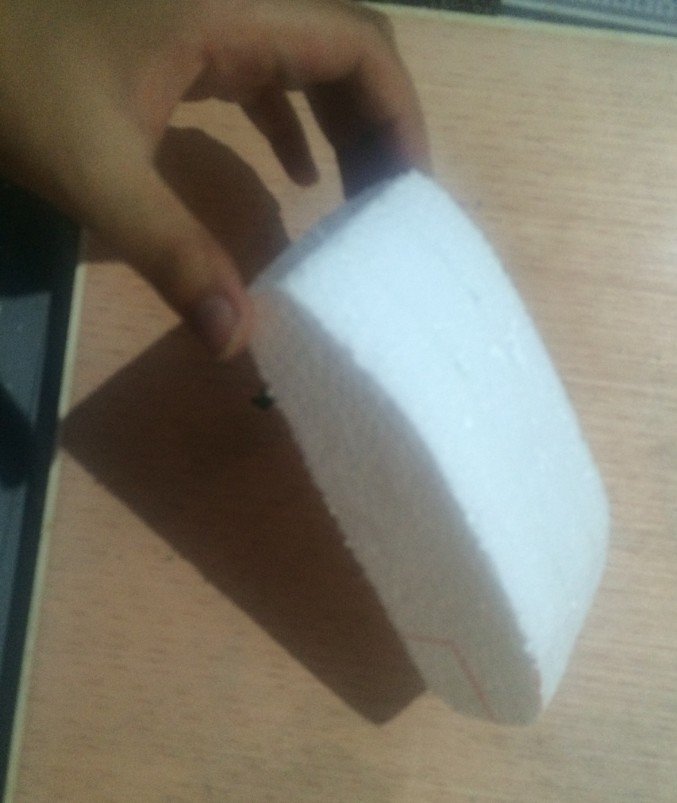
Once the design is complete, the next step is to cut the foam sheets to the required size and shape. A hobby knife and a cutting board can be used to cut the foam sheets. It is important to be careful while cutting the foam sheets to avoid any injuries.
Step 3: Assemble the Helicopter:
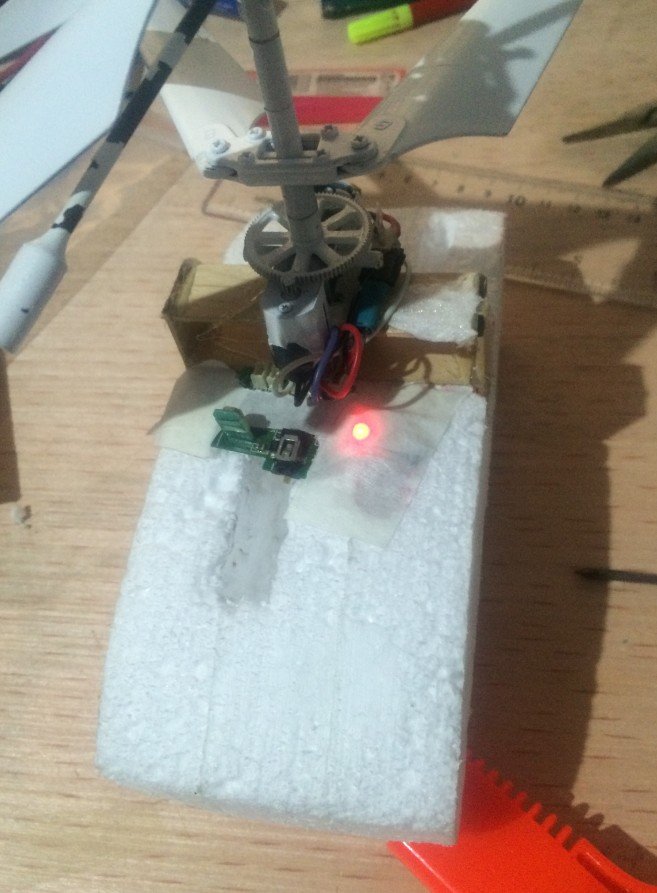
Once the foam sheets are cut, the next step is to assemble the helicopter. Glue can be used to attach the foam sheets to each other. A brushless motor, propellers, and batteries can be attached to the helicopter using screws and glue. A soldering iron can be used for connecting the wires and batteries.
Step 4: Install the Remote Control System:
After assembling the helicopter, the next step is to install the remote control system. A remote control system includes a transmitter and a receiver. The transmitter is held by the pilot, and the receiver is installed in the helicopter. The pilot uses the transmitter to send signals to the receiver to control the helicopter.
Step 5: Test the Helicopter:
The final step is to test the helicopter. Ensure the batteries are charged, and the transmitter is turned on. Gently lift the helicopter off the ground and test each control to ensure that the helicopter is controllable and flies correctly.
Conclusion:
Building a DIY foam radio-controlled helicopter can be a fun and educational project. This project requires basic materials and tools and provides an opportunity to learn about the fundamentals of helicopters and remote control systems. The DIY foam radio-controlled helicopter project can be a great way to develop skills such as mechanical design, problem-solving, and creativity.
Posted by Ali Aslan at Friday 5th of May 2023 04:16:30 PM


