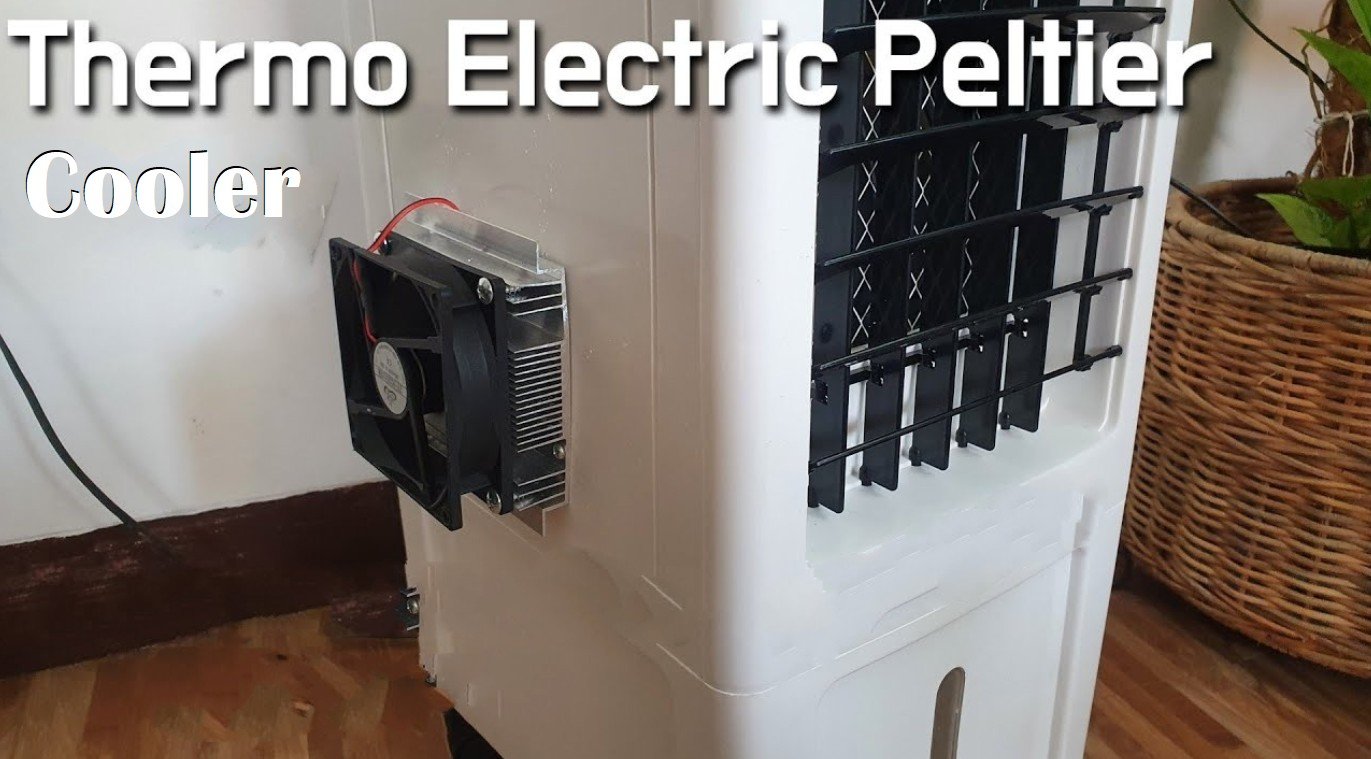
DIY Peltier Air Cooler
DIY Air Cooler: A Comprehensive Guide to Building Your Own Air Cooler
Introduction
In the sweltering heat of summer, an air cooler can be a lifesaver. However, commercial air coolers can be expensive and may not always fit within your budget. This is where a do-it-yourself (DIY) air cooler comes in handy. Not only is it cost-effective, but it also provides an opportunity to learn and apply some basic principles of thermodynamics. This article will guide you through the process of making your own air cooler using simple materials like a foam board, water pump, sponges, a fan, and a heatsink.
Materials Needed
Foam board
Water pump
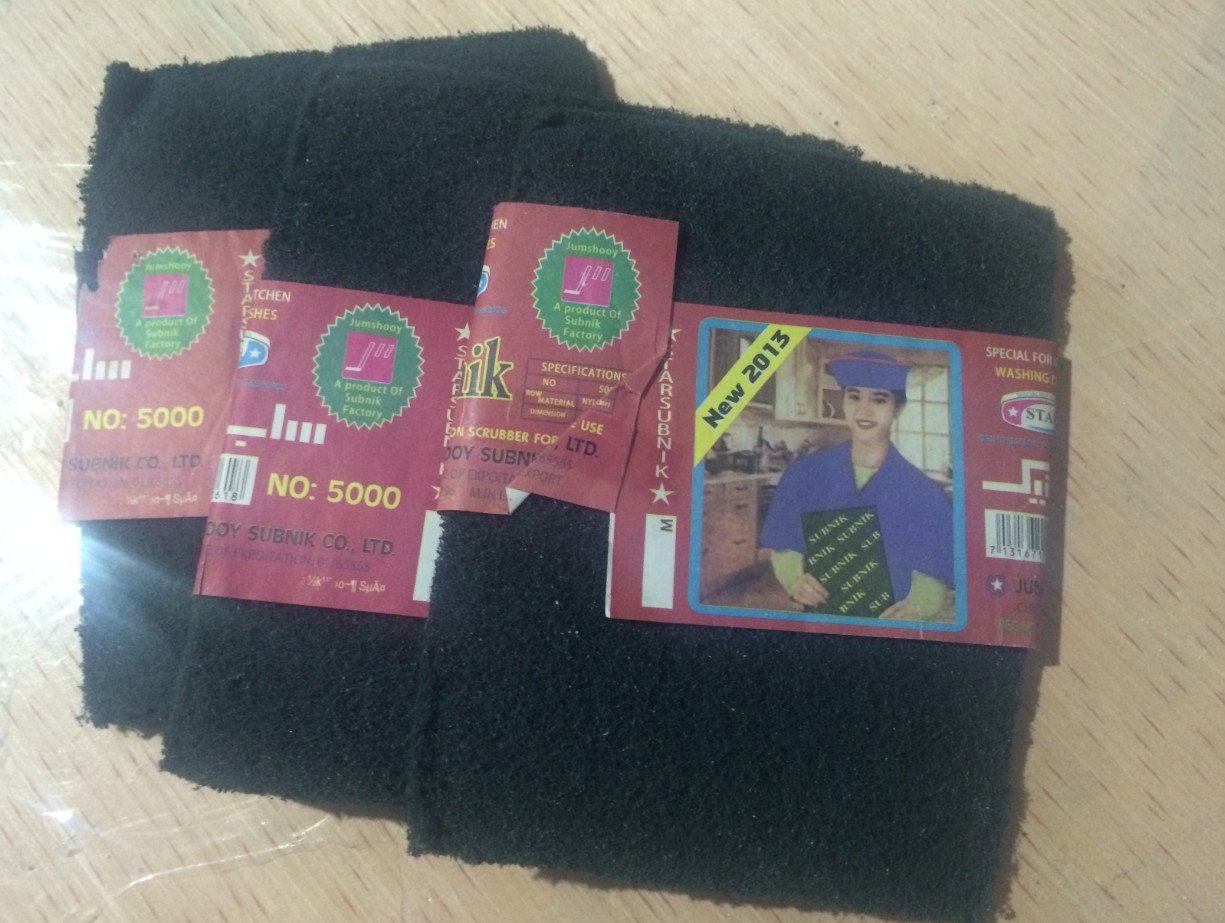
Sponges
Fan
Platter with a sizable heatsink
Water
Building the Cooler's Enclosure
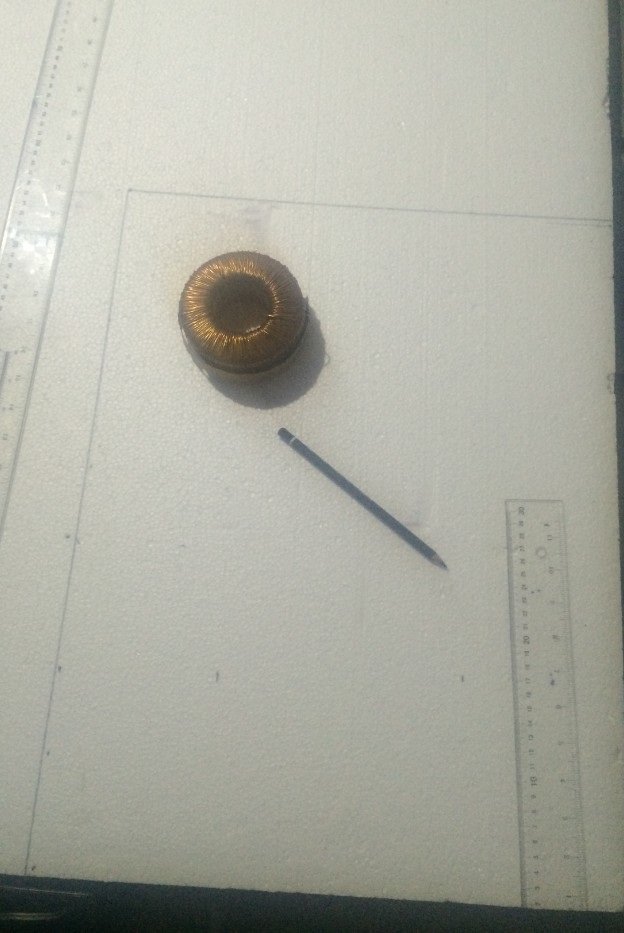
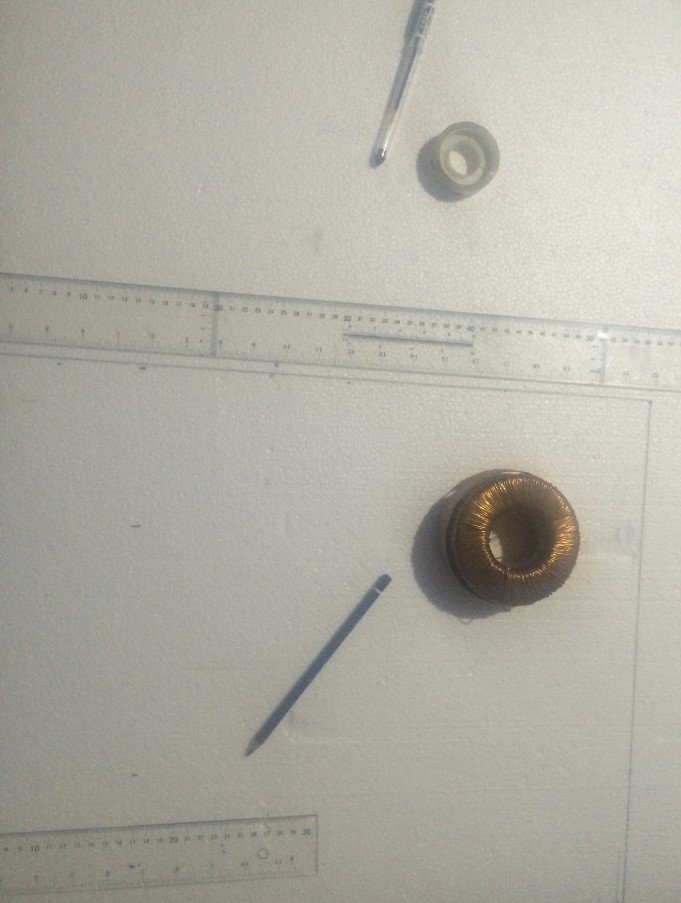
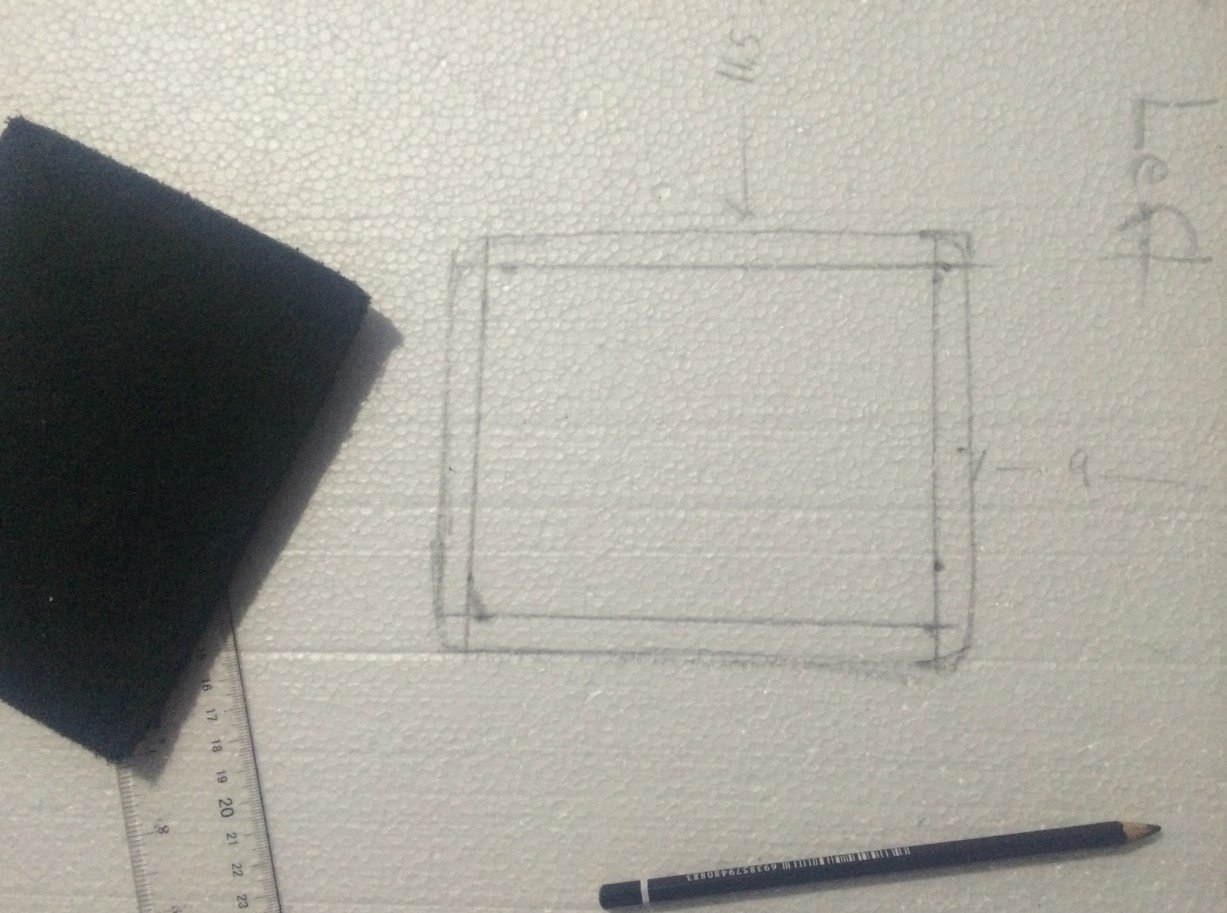
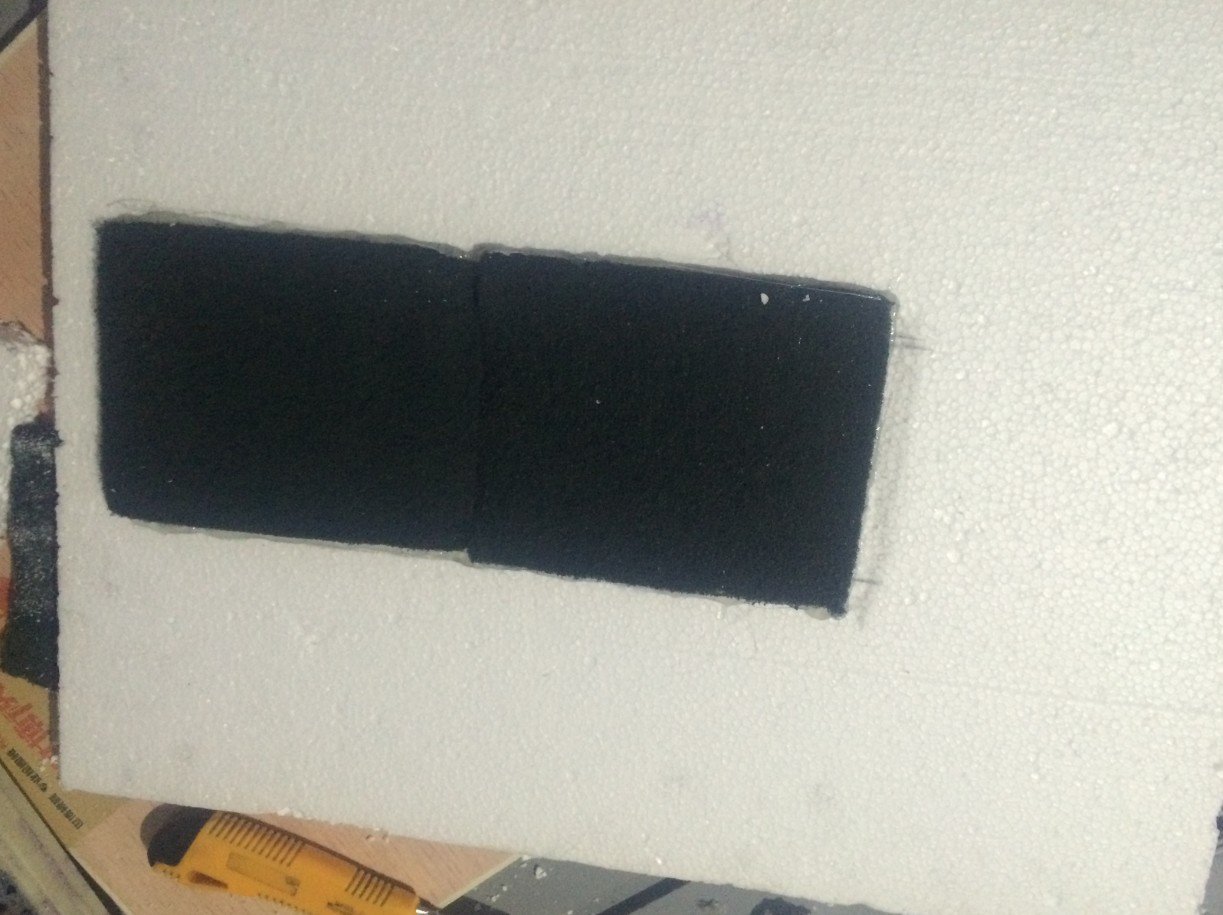
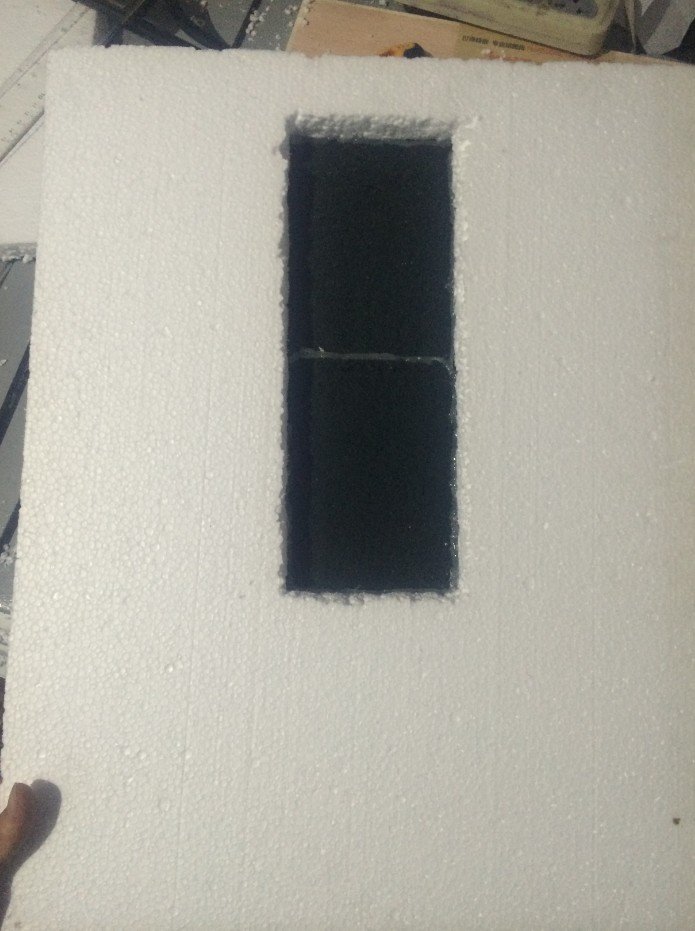
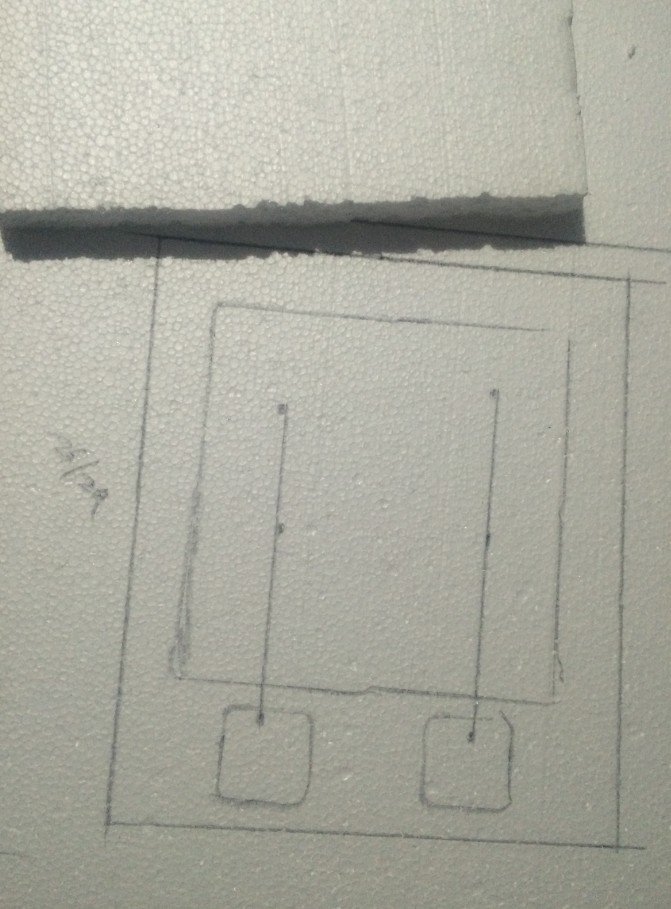
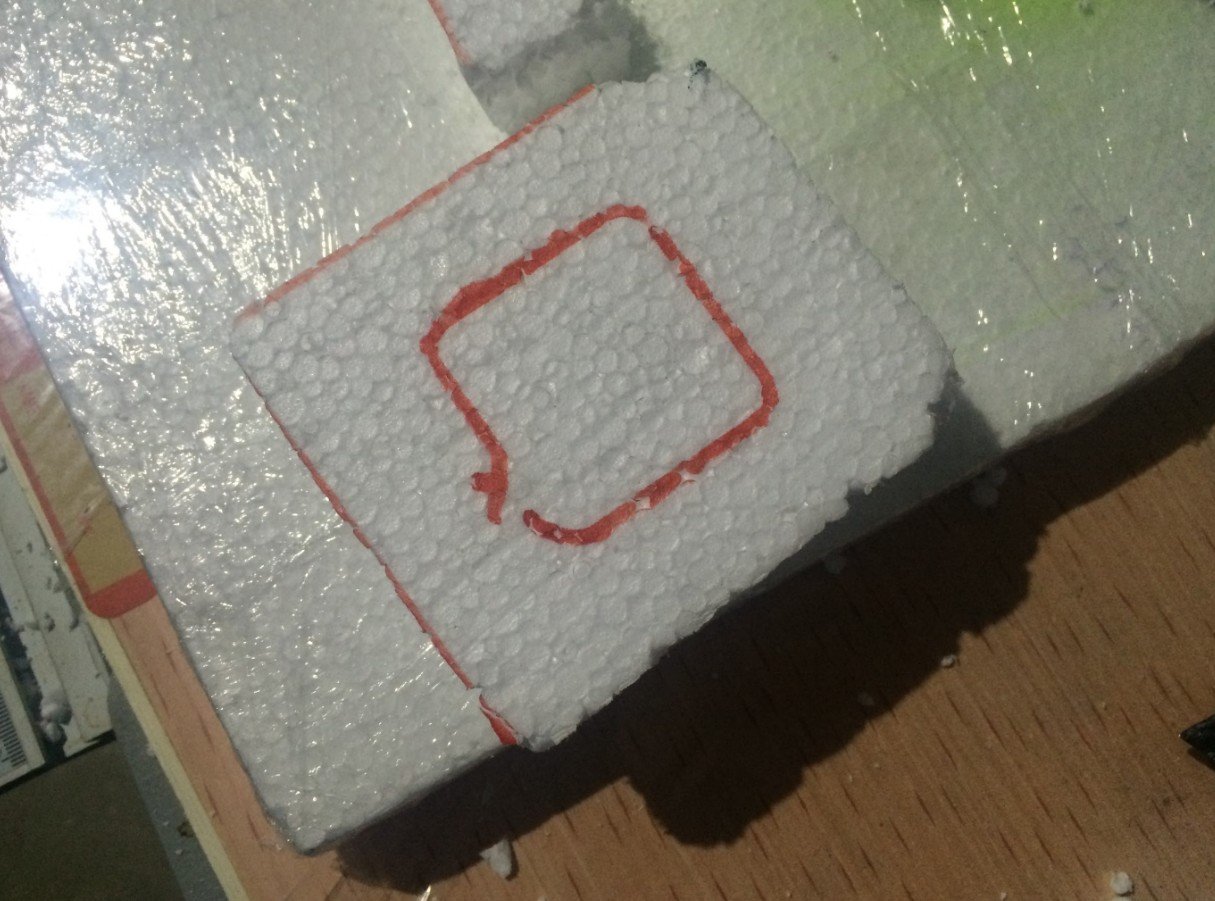
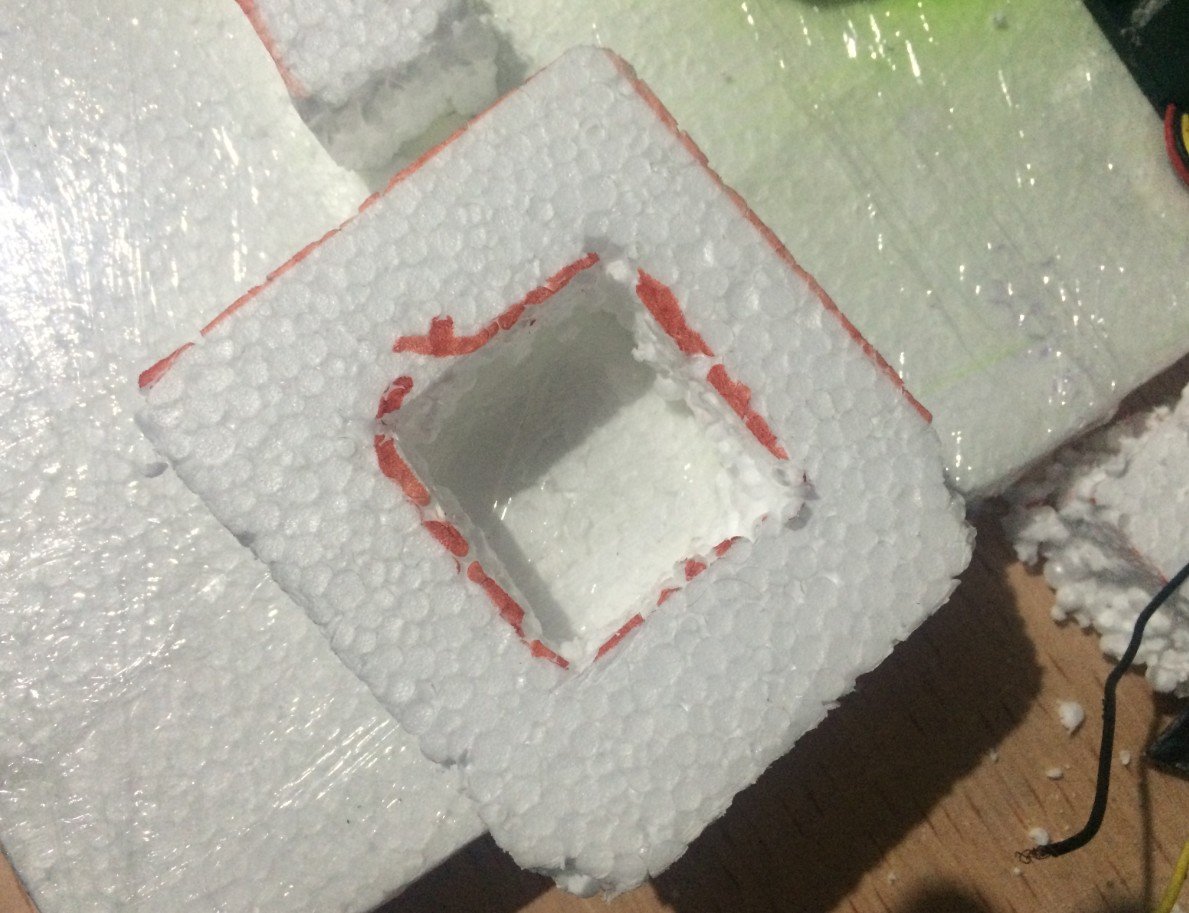
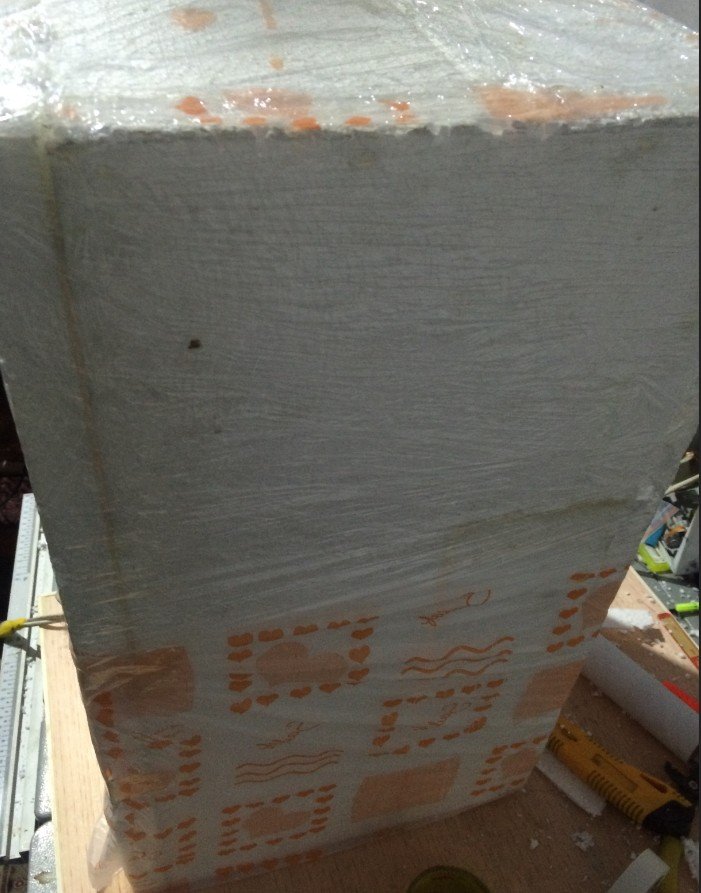
The first step in building your DIY air cooler is to construct the enclosure. This can be done using a foam board due to its excellent insulation properties. Cut the foam board into appropriate sizes to form a box-like structure. Ensure that the enclosure is large enough to accommodate the water pump, sponges, and the fan.
Setting Up the Water System
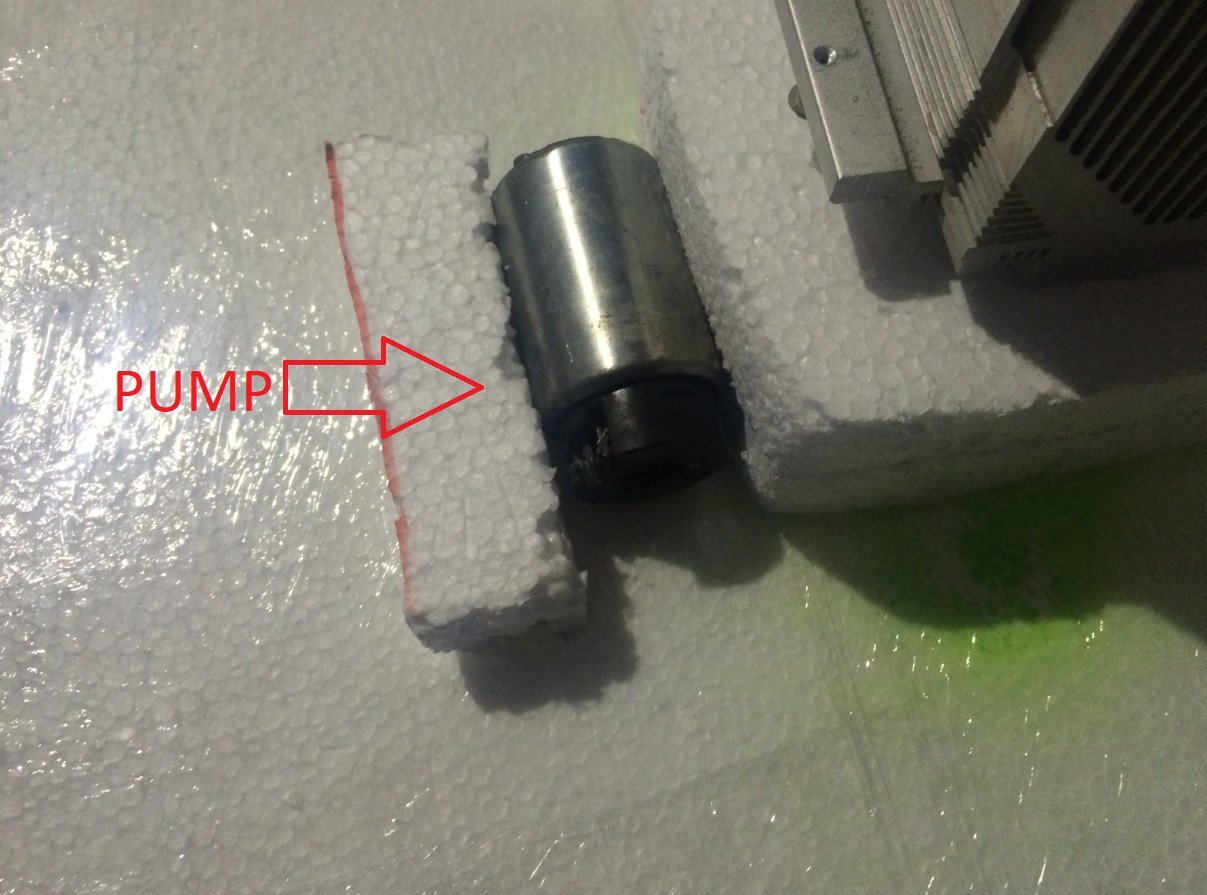
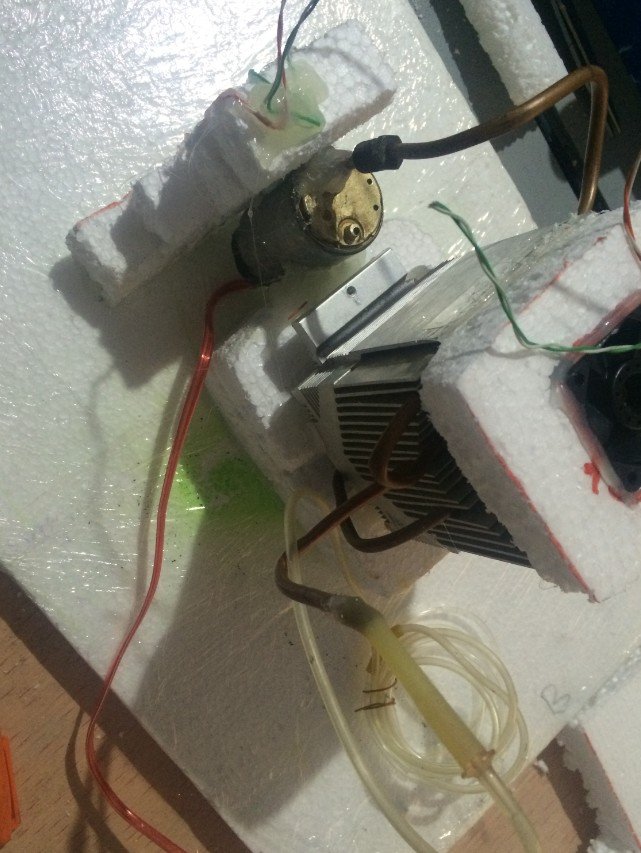
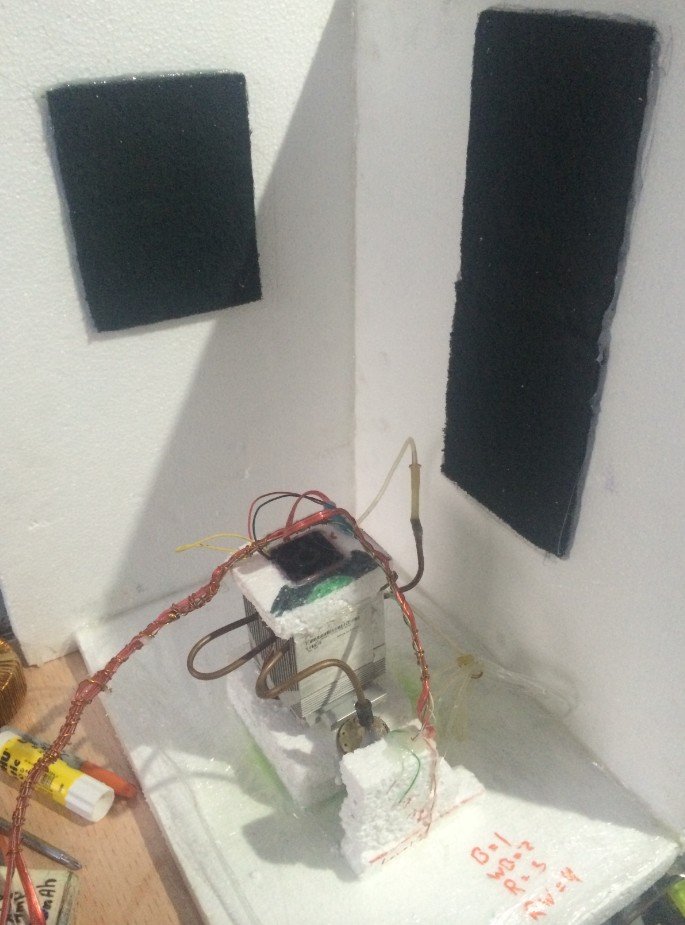
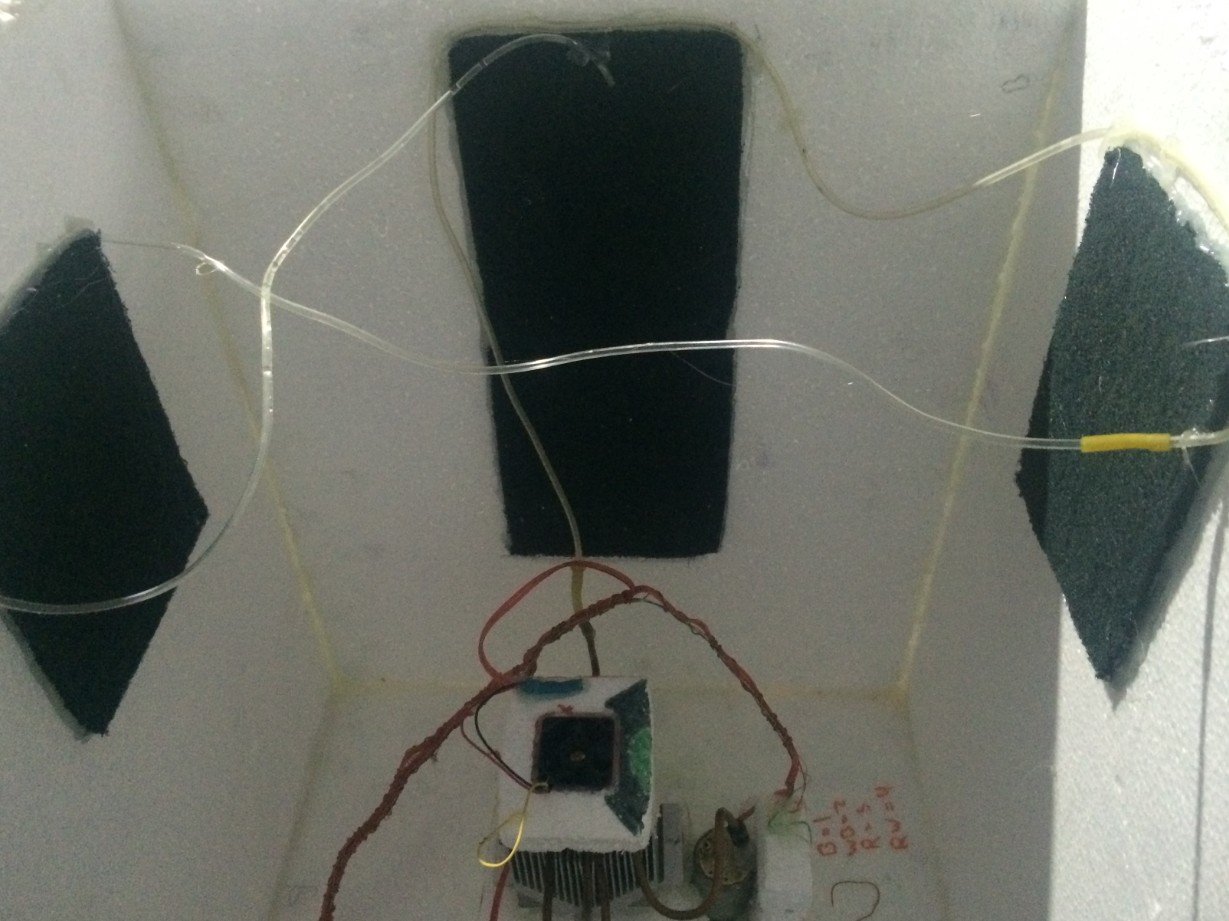
Once the enclosure is ready, fill it with water. The water serves as the primary cooling agent in this setup. Install a water pump in the enclosure to circulate the water. The pump should be powerful enough to push the water to each of the four corners of the cooler. This ensures that the cooling effect is evenly distributed throughout the cooler.
Installing the Sponges and Fan
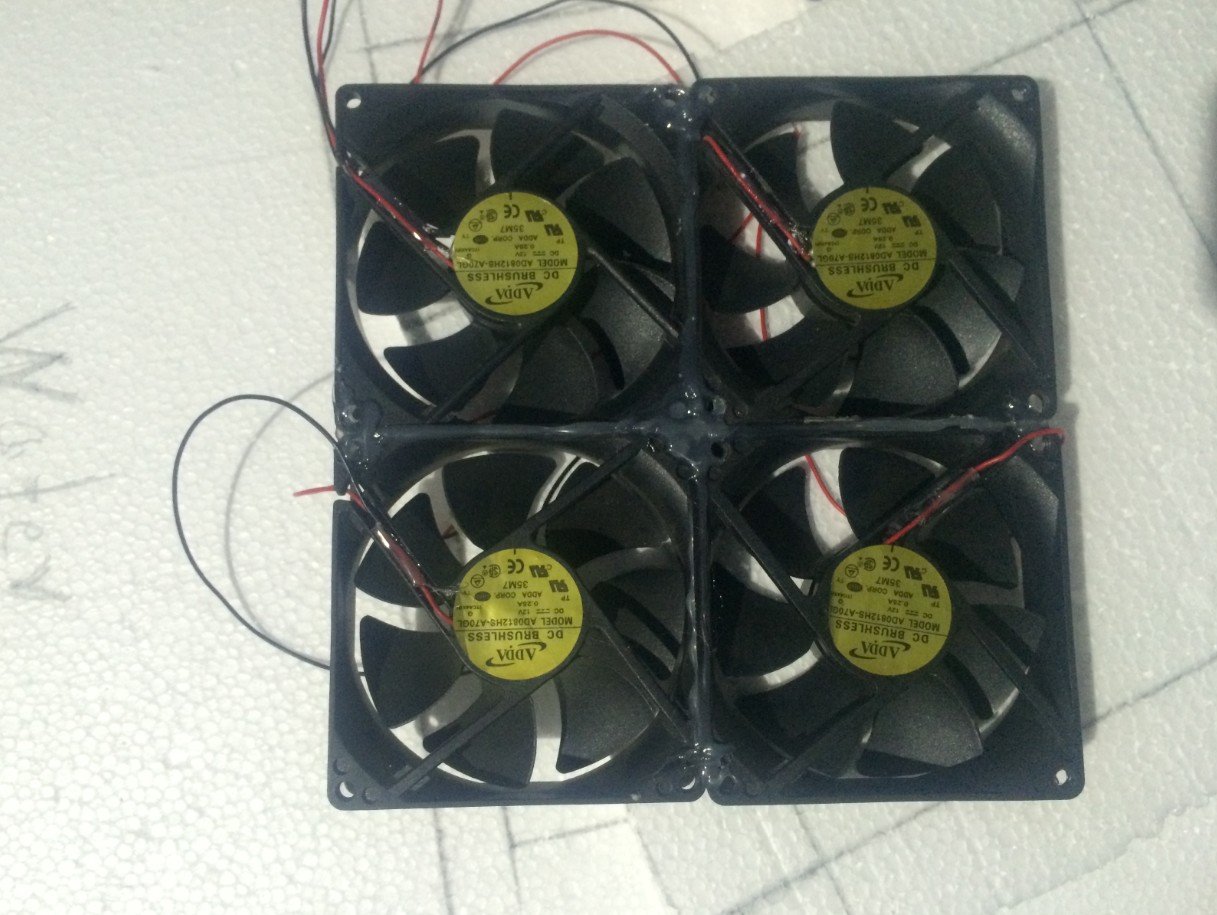
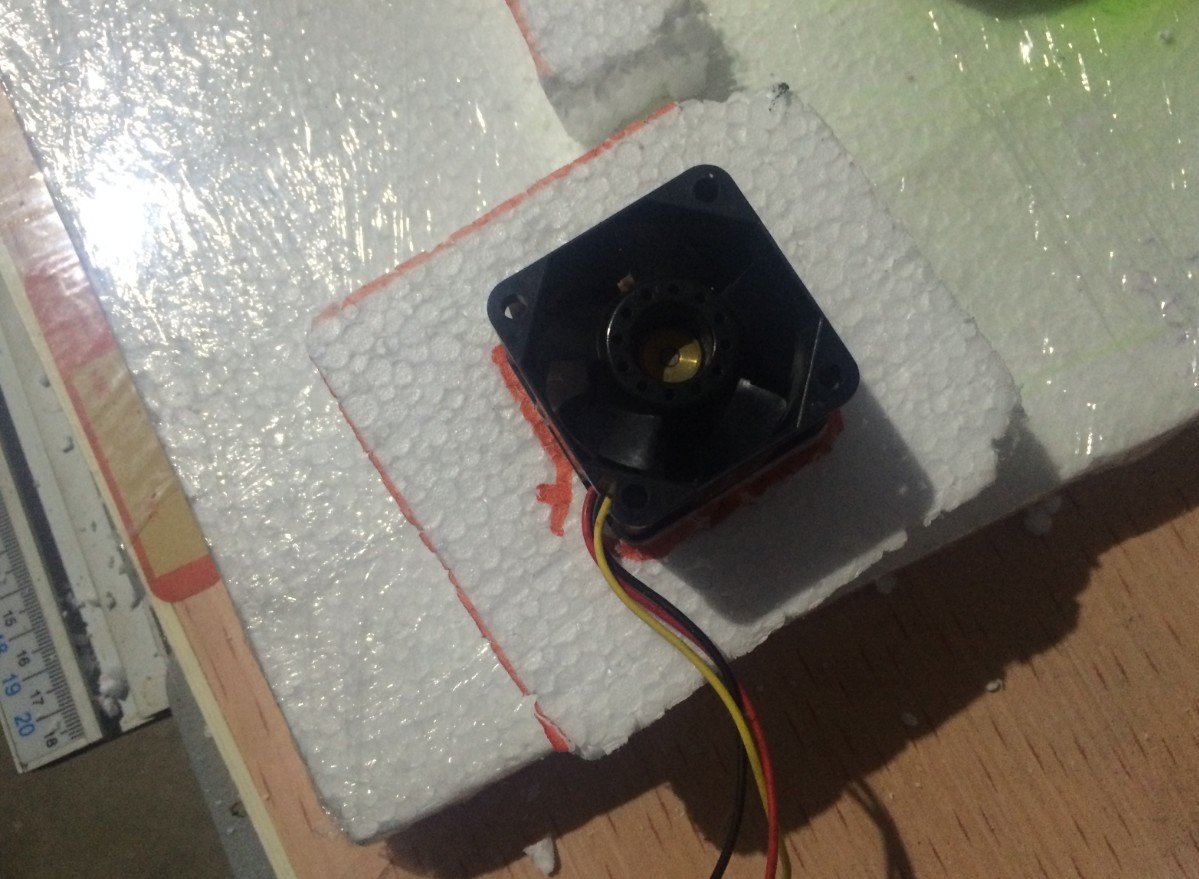
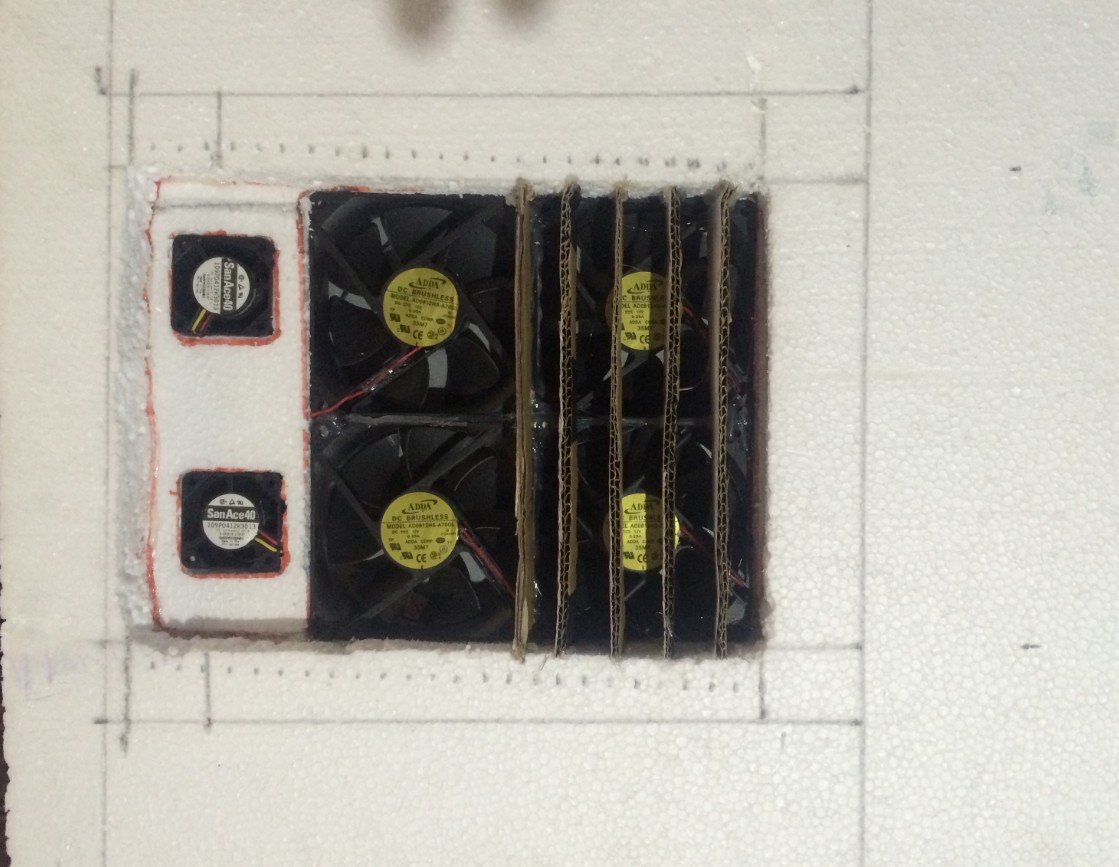
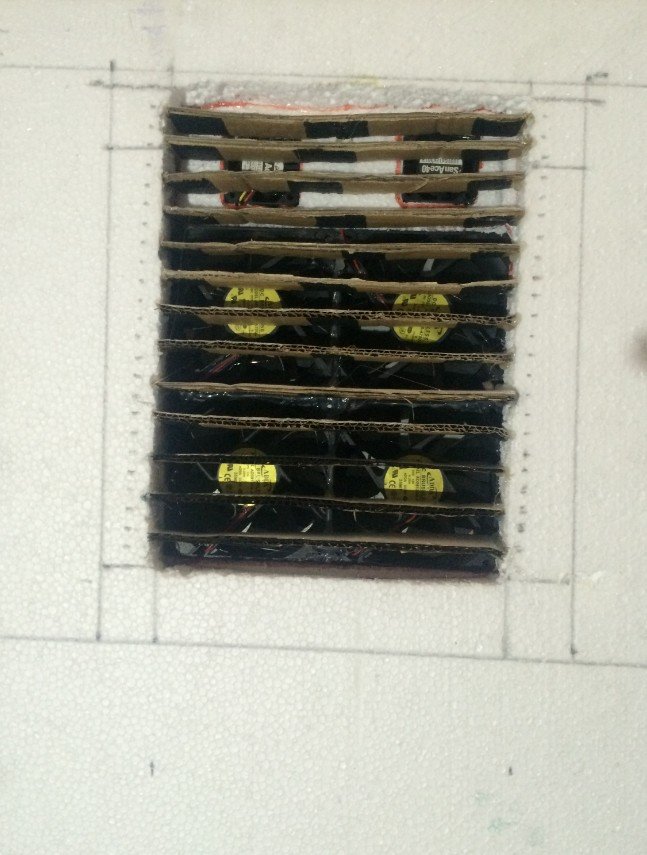
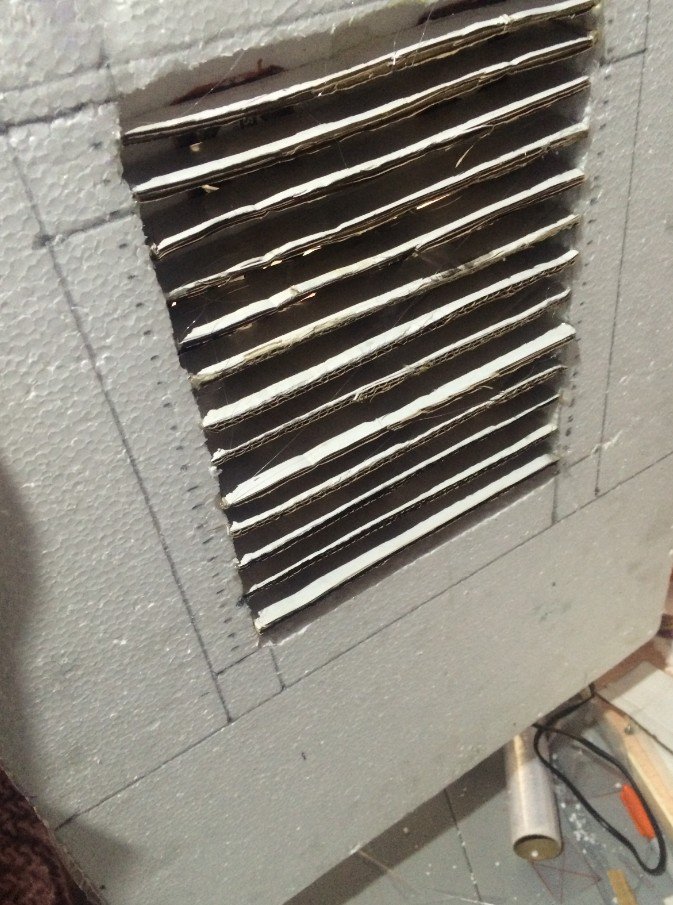
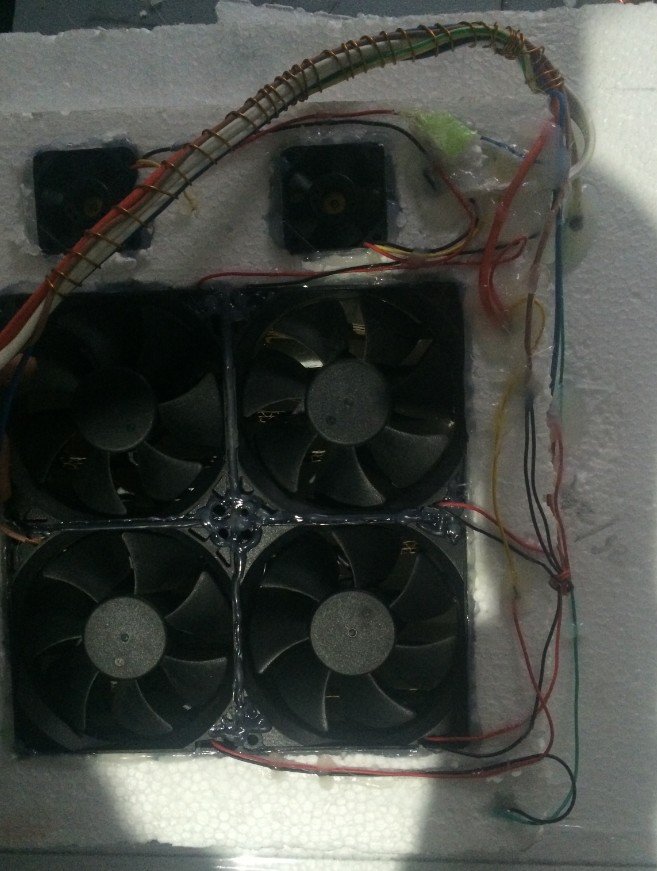
Next, place sponges in each corner of the cooler. The sponges will absorb the water as it is pumped into the corners, creating a damp environment that aids in cooling. To move the cooler air from the cooler into the room, install a fan on one side of the enclosure. The fan will draw in the cooler air from the enclosure and push it out into the room, effectively lowering the room temperature.
Maintaining Optimal Water Temperature
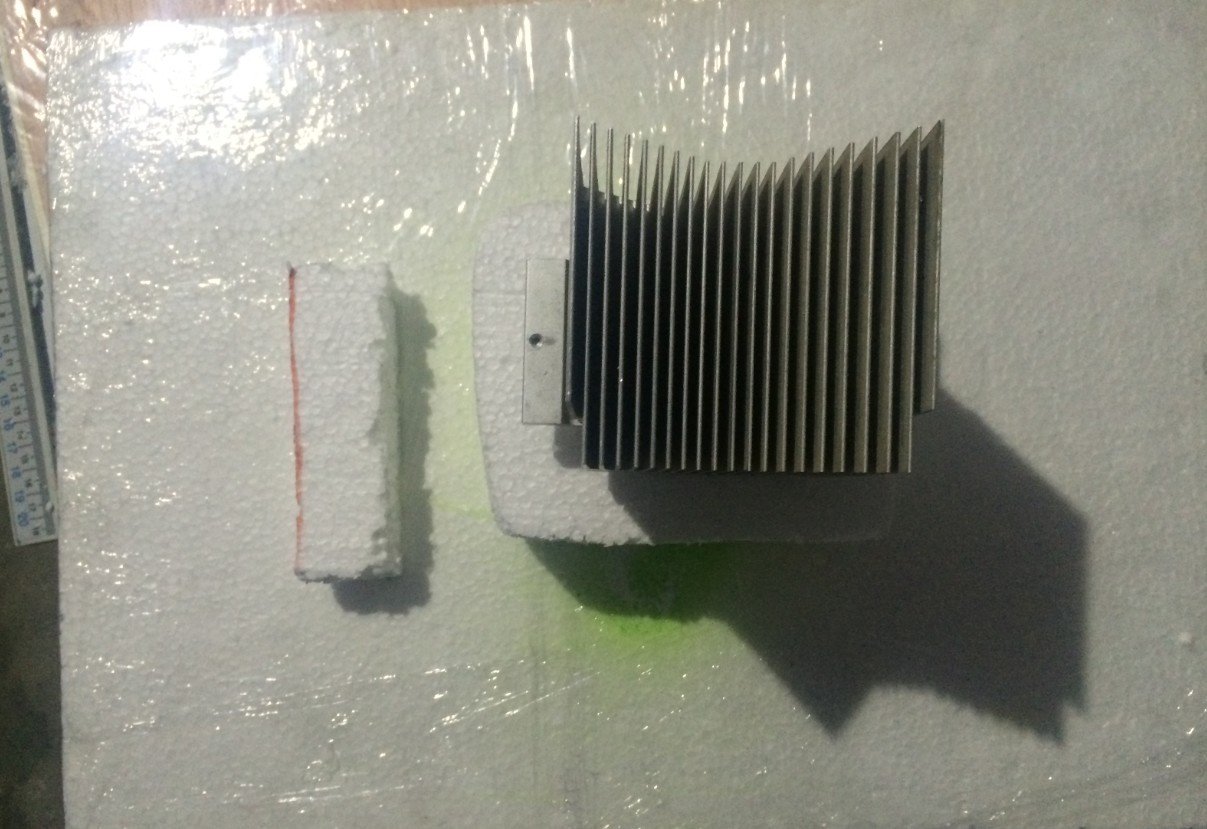
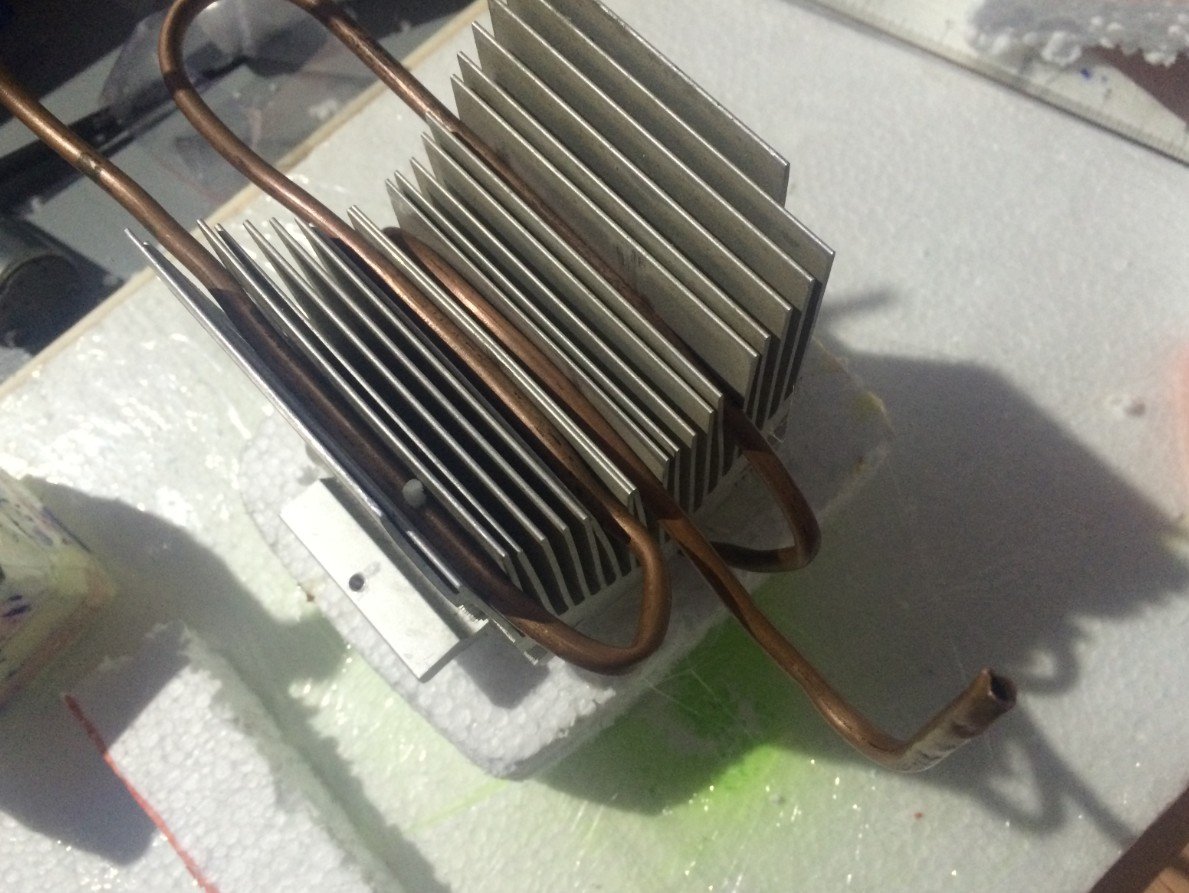
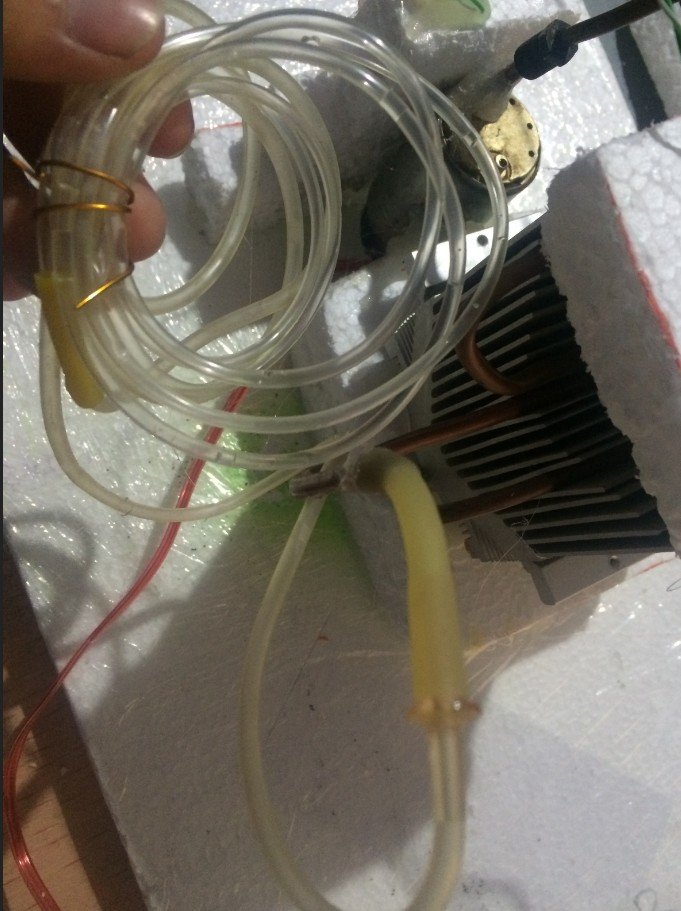
One challenge with this setup is that the water in the cooler will gradually get hotter due to the heat absorbed from the air. To counter this, place a platter with a sizable heatsink in the water. The heatsink will absorb the heat from the water, keeping it at a low temperature. For optimal results, the heatsink should be able to bring the water down to the freezing point. This will ensure that the air coming out of the cooler is extremely cold.
Conclusion
Building a DIY air cooler is a fun and rewarding project. Not only does it provide a cost-effective solution to beat the summer heat, but it also offers a practical application of basic scientific principles. With a little effort and creativity, you can create an efficient air cooler that will keep you comfortable all summer long.
Choosing the Right Materials
While we've mentioned the basic materials needed, it's important to choose the right type for each component. For the foam board, opt for a high-density type as it offers better insulation. The water pump should be submersible and have a high enough flow rate to circulate the water effectively. The sponges should be highly absorbent - natural sea sponges are a good option. The fan should be powerful enough to circulate the air but not so strong that it causes the water to evaporate too quickly. Lastly, the heatsink should be made of a material with high thermal conductivity, such as copper or aluminum.
Assembly and Safety Precautions
When assembling the cooler, make sure all components are securely attached to prevent any leaks or malfunctions. Always remember to disconnect any electrical components like the pump and fan from the power source while working with water to avoid any risk of electric shock.
Maintenance and Efficiency
To maintain the efficiency of your DIY air cooler, it's important to regularly clean and replace the water to prevent any build-up of bacteria or mold. The sponges should also be cleaned or replaced regularly to ensure they remain effective at absorbing water.
To increase the efficiency of the cooler, you can add ice to the water. This will lower the water temperature and result in cooler air output. However, remember to monitor the water level as the ice melts and refill as necessary.
Customization
One of the benefits of a DIY project is the ability to customize it to your needs. You can adjust the size of the cooler, the power of the fan, or the number of sponges based on the size of the room you want to cool. You can also paint or decorate the foam board enclosure to match your room decor.
Conclusion
Building a DIY air cooler is not only a cost-effective way to stay cool during the hot summer months, but it's also a fun and educational project. By understanding the principles behind the cooling process, you can experiment and optimize your cooler to your specific needs. With the right materials and a bit of effort, you can enjoy a cool and comfortable environment while also gaining the satisfaction of having built it yourself.
Posted by Ali Aslan at Monday 15th of May 2023 09:36:11 PM

