.jpg)
DIY Battery Capacity Meter
Building a DIY Battery Capacity Meter
In this project, we designed and assembled a Battery Capacity Meter, a highly practical tool for measuring the capacity of various batteries, especially lithium-ion batteries. It provides accurate readings of a battery's capacity in milliampere-hours (mAh), making it an invaluable device for anyone working with batteries.
Why Build a Battery Capacity Meter?
Understanding the capacity of a battery is crucial for evaluating its health and performance. With this DIY project, you can measure battery capacity conveniently and accurately. Instead of building the circuit from scratch, we utilized the HW-586 module, a cost-effective and reliable option.
Steps to Build the Device
1. Components Used
- HW-586 Capacity Meter Module
- Enclosure Box (custom-sized)
- Battery Holder
- Lithium-Ion Battery
- Charging Module (for recharging the internal battery)
- Boost Converter Module (to power the HW-586 module)
- Carbon Fiber Film (for aesthetics)
- Heat Gun, Glue, Screws, and Basic Tools
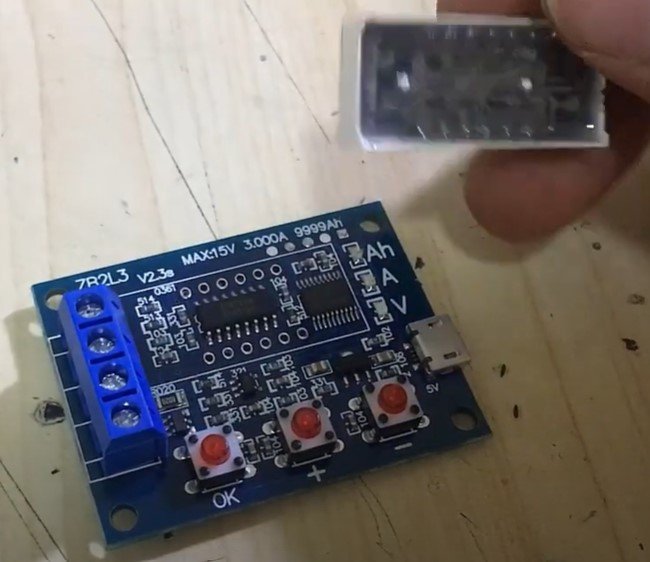
2. Preparing the HW-586 Module
- The HW-586 module was selected for its simplicity and affordability. While it is possible to build the circuit from scratch using the ICs on the HW-586, using the module saves time and effort.
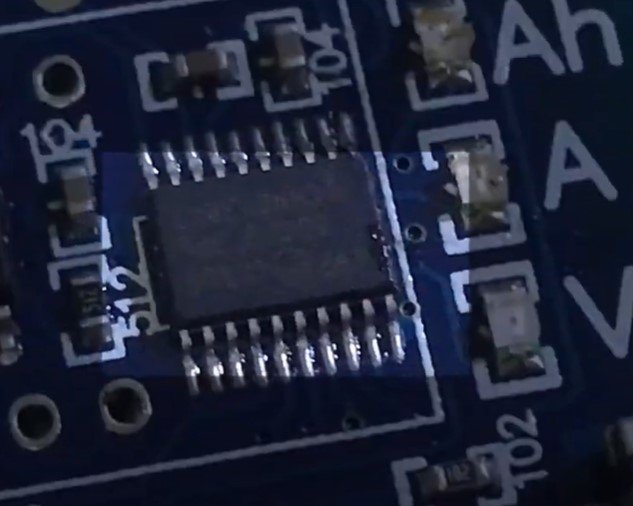
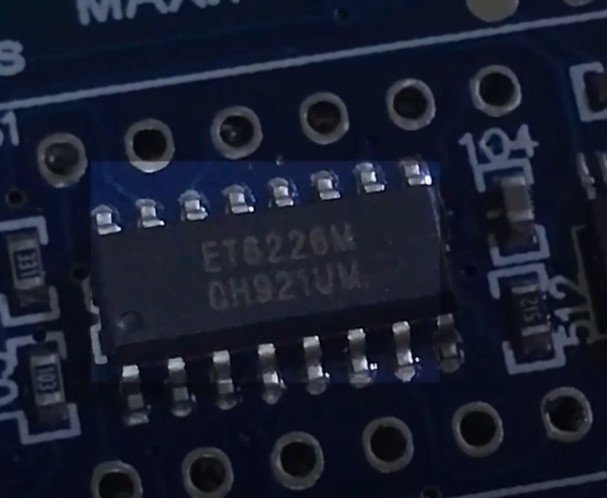
- The display on the module was carefully removed to expose the two main ICs:
- Display Driver IC: Manages the LCD.
- Main IC: Handles battery capacity measurement.


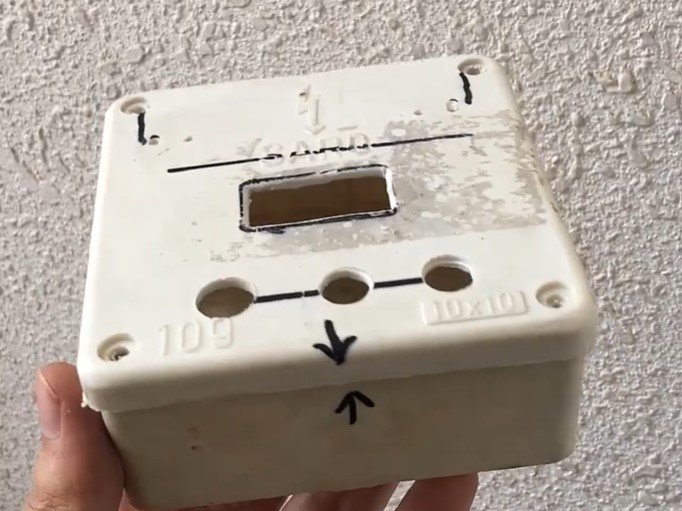
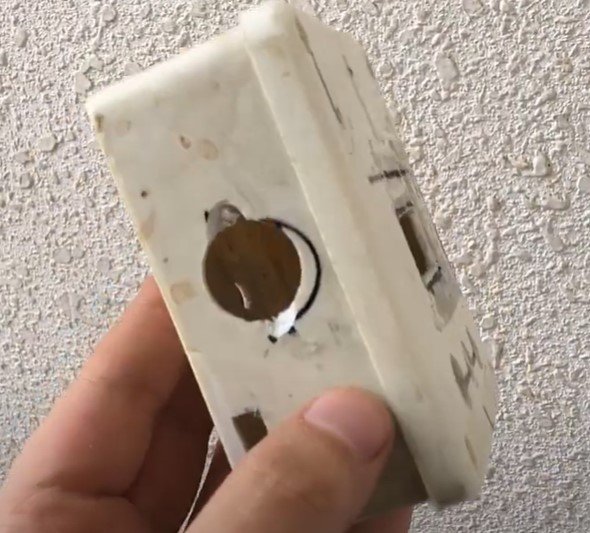
3. Designing the Enclosure
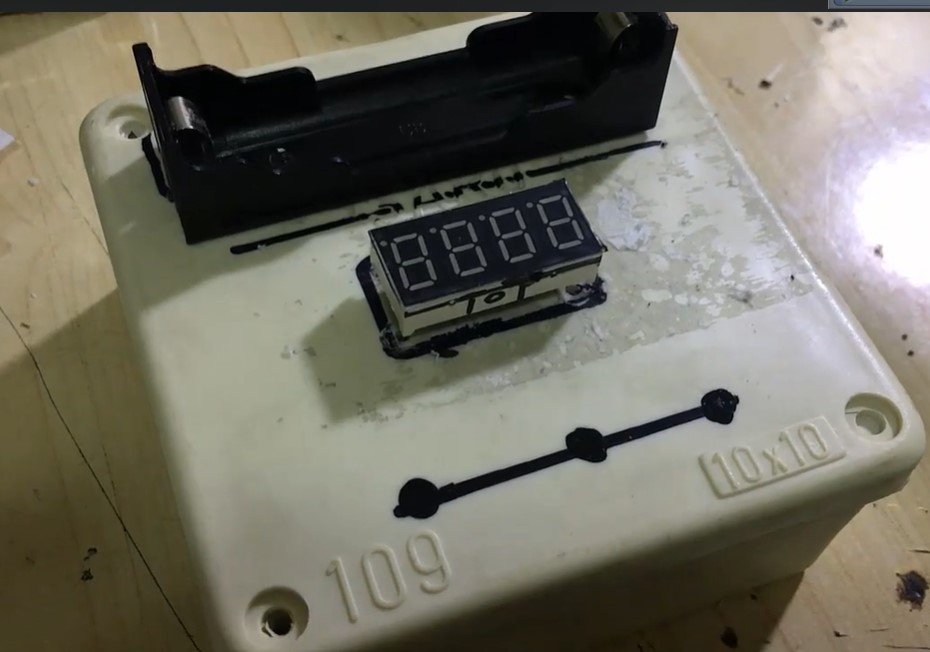
- A black enclosure box was chosen for housing the components. The layout was carefully measured, and holes were cut for:
- The battery holder (mounted on the top).
- The display window for the HW-586 module.
- Ports and switches.
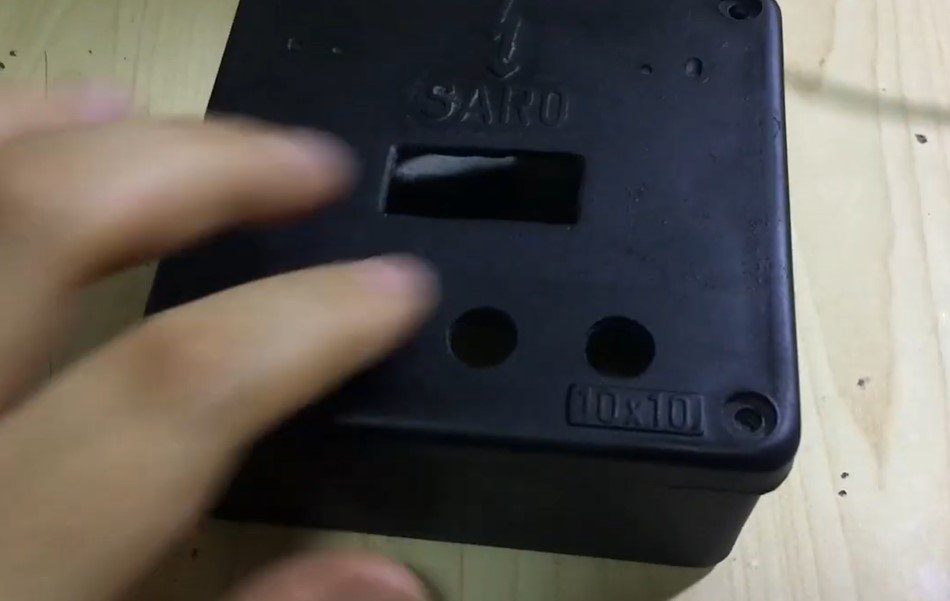
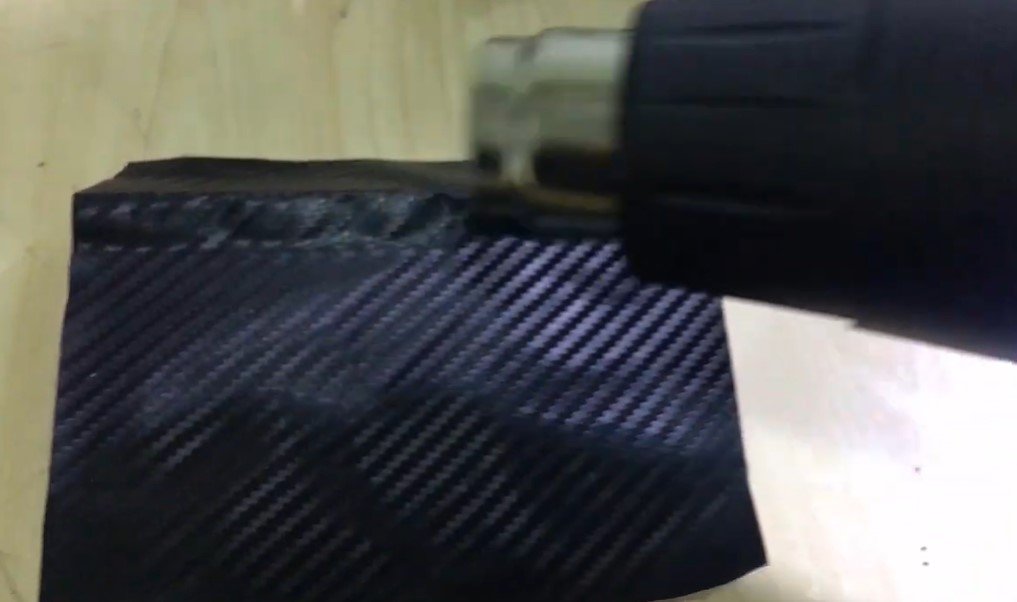
- After cutting, the box was painted black for a sleek look. To enhance its appearance, carbon fiber film was applied using a heat gun, giving the box a polished and professional finish.
4. Assembling Components
- The HW-586 module was mounted inside the box, ensuring proper spacing for airflow to prevent overheating.
- A charging module was added to recharge the internal lithium-ion battery.
- A boost converter module was installed to provide consistent power to the HW-586.
- The battery holder was secured on top of the enclosure for easy insertion and removal of batteries.
- All components were securely glued or screwed in place, with care taken to keep resistors and heat-sensitive parts elevated for proper cooling.

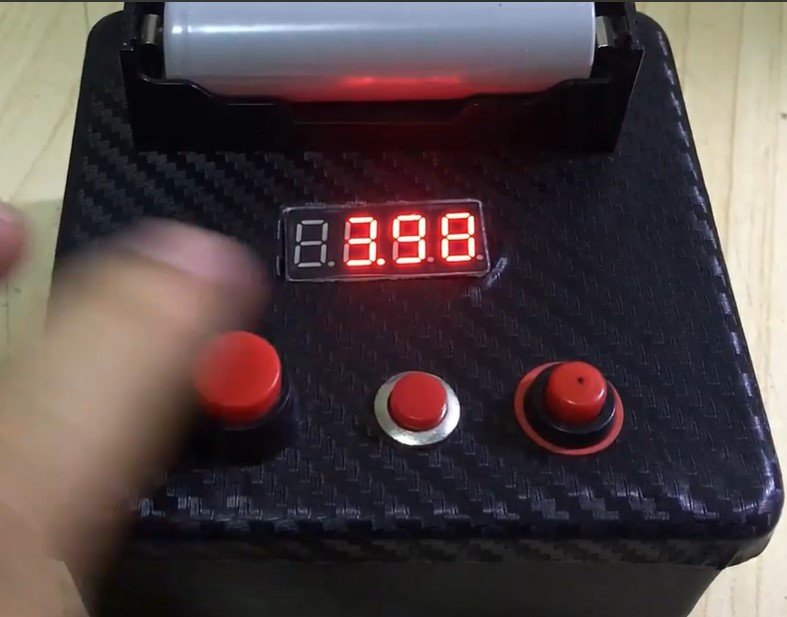
5. Final Assembly
- After verifying the wiring and connections, the enclosure was closed, and screws were tightened. The device was tested to ensure all components functioned as intended.
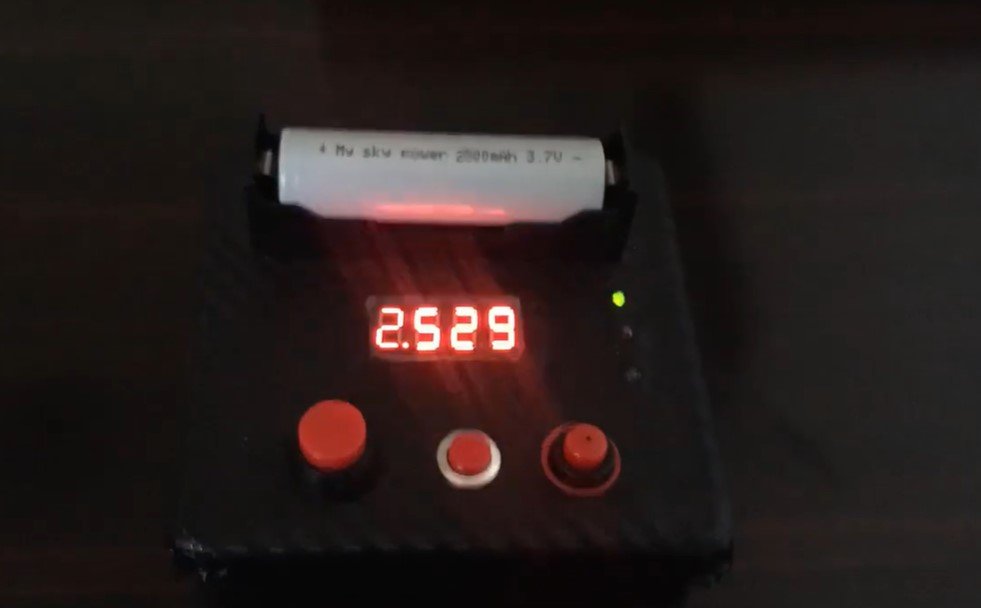
Testing the Battery Capacity Meter
To test the device, an MSP lithium-ion battery was inserted, and the cutoff voltage was set to 3V. The HW-586 module began measuring the capacity, and after a complete cycle, it displayed the result: 2529mAh.
Advantages of the Device
- Cost-Effective: Building this device is far cheaper than purchasing commercial capacity meters.
- Portable and Rechargeable: The internal lithium-ion battery makes it portable and convenient.
- Customizable: You can modify the design to suit specific needs, such as testing larger or smaller batteries.
- Educational Value: This project offers hands-on experience with electronics, circuit design, and battery testing.
Applications
- Testing used batteries for health and capacity.
- Evaluating newly purchased batteries to verify their specifications.
- Diagnosing battery performance in DIY or professional electronics projects.
Conclusion
Building a Battery Capacity Meter is a rewarding and practical project. It not only saves money but also provides a reliable tool for measuring battery performance. Whether you're a hobbyist or a professional, this device is a valuable addition to your toolkit.
Posted by Ali Aslan at Sunday 5th of January 2025 05:34:44 PM