
Building a Powerful Taser
Building a Powerful Taser: A Step-by-Step Guide
In this project, we will create a high-voltage taser capable of delivering a strong shock, powerful enough to incapacitate someone temporarily. Safety is paramount, so take extreme care while building and handling this project. Always follow proper procedures to avoid accidents, and ensure you comply with local laws and regulations regarding the construction and use of such devices.

How the Taser Works
The taser functions by using a high-voltage transformer to step up the voltage from a low-voltage battery to an extremely high-voltage output (in kilovolts). The current is stored and released in quick bursts, causing a powerful electric shock at the output terminals.

Components Needed
- Lithium Batteries: Two lithium polymer battery cells connected in series (8.4V when fully charged).

- High-Voltage Transformer: Recovered from piezoelectric lighters or purchased as a ready-made unit.
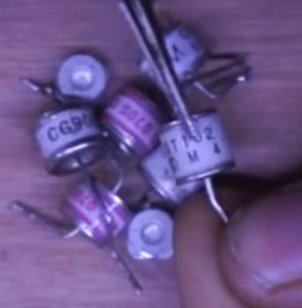
- Push-Pull Circuit Components:
- MOSFETs (e.g., IRF540N or similar)
- Diodes (e.g., 1N4148)
- Transistors (e.g., BC547)
- PWM signal generator components (e.g., IC 555 timer or similar).
- High-Voltage Rectifier Diodes: Ready-made diodes rated for high voltage, or use multiple 1N4007 diodes in series to build your own.


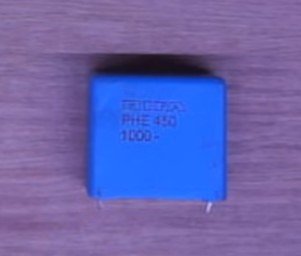
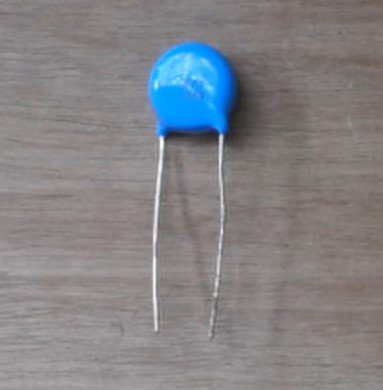
- High-Voltage Capacitors: 0.39µF, 1,000V.
- Spark Gap: ST102 or similar.
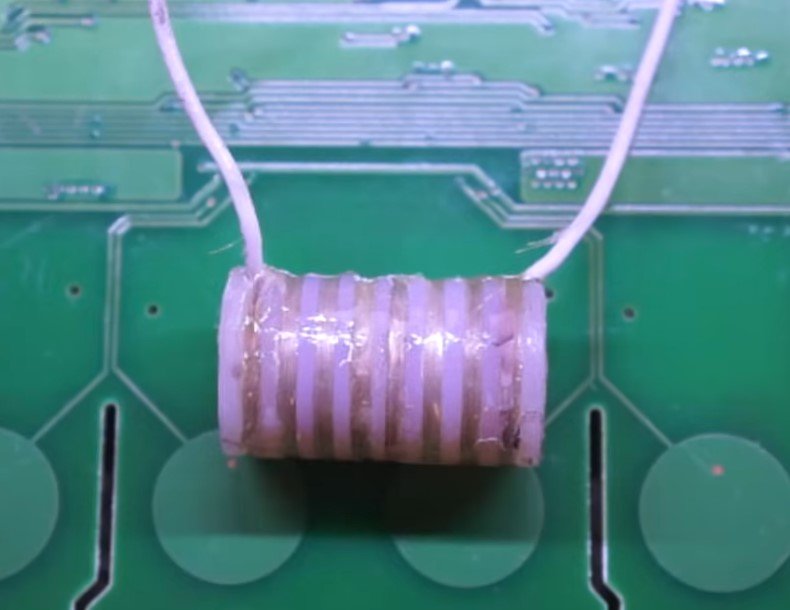
- Pulse Transformer: Custom-built using nylon or fiberglass as insulation.
- AWG 36 Wire: For secondary coil (1,400 turns).
- AWG 20 Wire: For primary coil (18 turns).
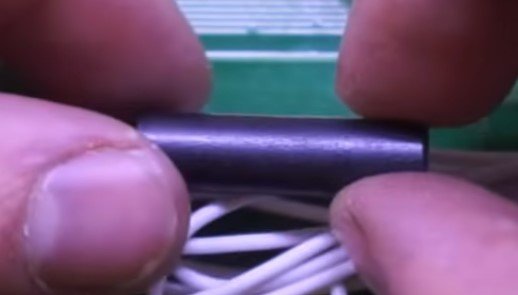
- Ferrite Rod: For the core of the pulse transformer.


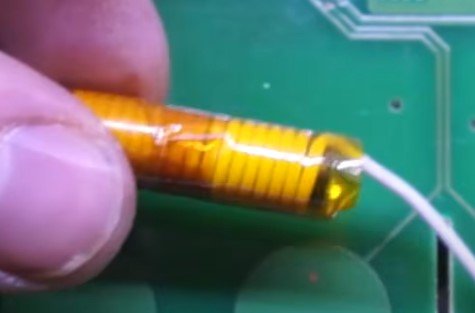
Primary Coil on Ferrite Rod
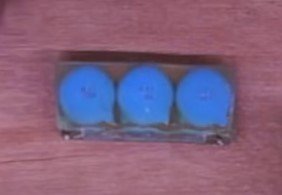
Output High-Voltage Capacitors: 10-15kV or multiple 2-3kV capacitors connected in series.

- BMS (Battery Management System): To protect the batteries.

- Charge Controller Board: For safe charging of the battery pack.
- Casing: For enclosing the components securely.
- Epoxy Glue: For insulation and durability.
- Sharp Output Terminals: Screws or custom-made sharp tips.
Step-by-Step Instructions
1. Power Source Setup
- Connect two lithium polymer battery in series to provide approximately 8.4V when fully charged.
- Integrate a BMS and charge controller to ensure safe operation and charging.
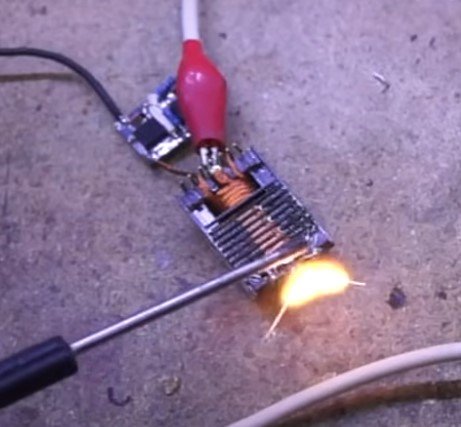
2. High-Voltage Transformer
- Use a transformer salvaged from a lighter or purchase a high-voltage transformer.
- Build a push-pull circuit to drive the transformer:
- Use two MOSFETs for switching.
- Generate a PWM signal using a 555 timer IC to control the MOSFETs.
- This circuit will step up the 8.4V DC input to a high AC voltage.
3. Rectification and Filtering
- Rectify the high-voltage AC output using high-voltage diodes.
- If you lack high-voltage diodes, connect multiple 1N4007 diodes in series to achieve the required rating.
- Filter the rectified output with a high-voltage capacitor (e.g., 0.39µF, 1,000V).
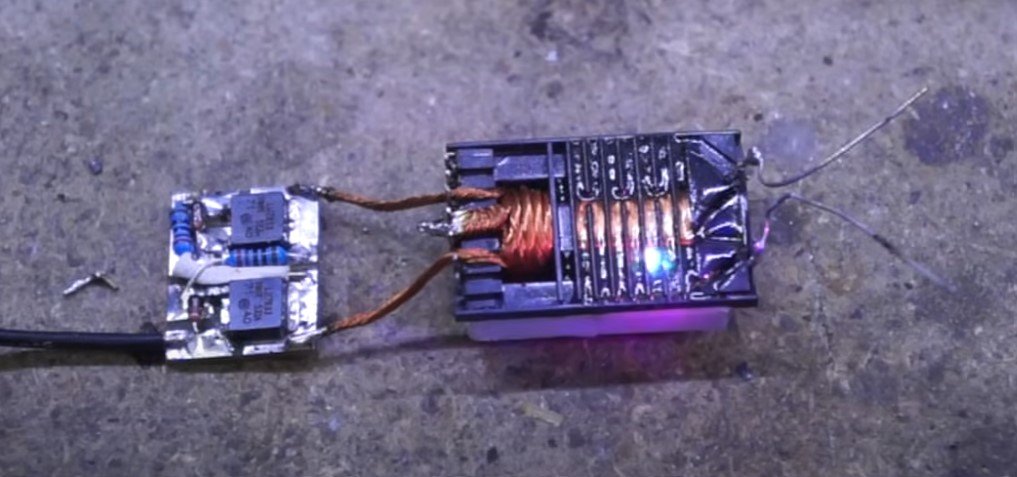
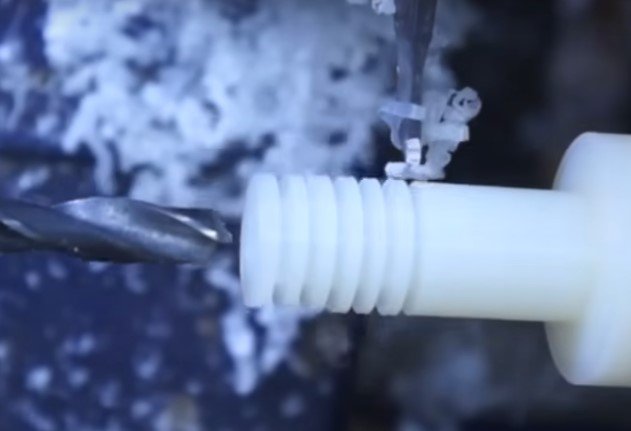
4. Building the Pulse Transformer
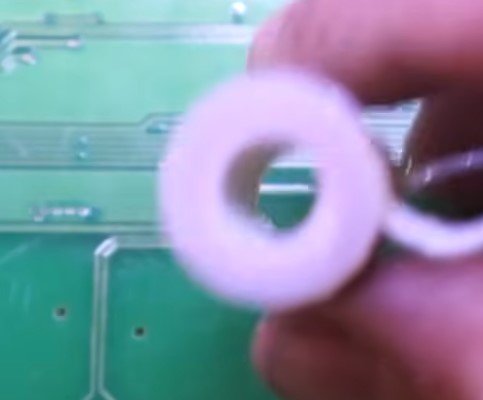
- Core Preparation: Use a nylon or fiberglass rod as the core, drilling a central hole and cutting equal slots around it for winding.
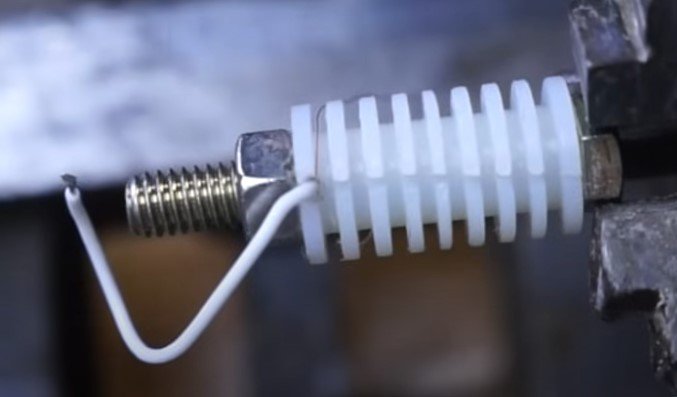
- Secondary Coil:
- Wind 1,400 turns of AWG 36 wire into the slots.
- Apply epoxy glue between each layer to ensure insulation.
- Solder high-voltage wires to the coil ends and cover with additional epoxy for safety.
- Primary Coil: Wind 18 turns of AWG 20 silicone-insulated wire around the ferrite rod.
5. Integrating Spark Gap
- Connect the output of the rectifier circuit to a spark gap (e.g., ST102).
- The spark gap discharges the capacitor in pulses, sending high voltage to the pulse transformer.
6. Output Terminals
- Connect the secondary coil output to sharp terminals (e.g., sharpened screws or custom-made tips).
- Ensure the terminals are securely attached and properly insulated.
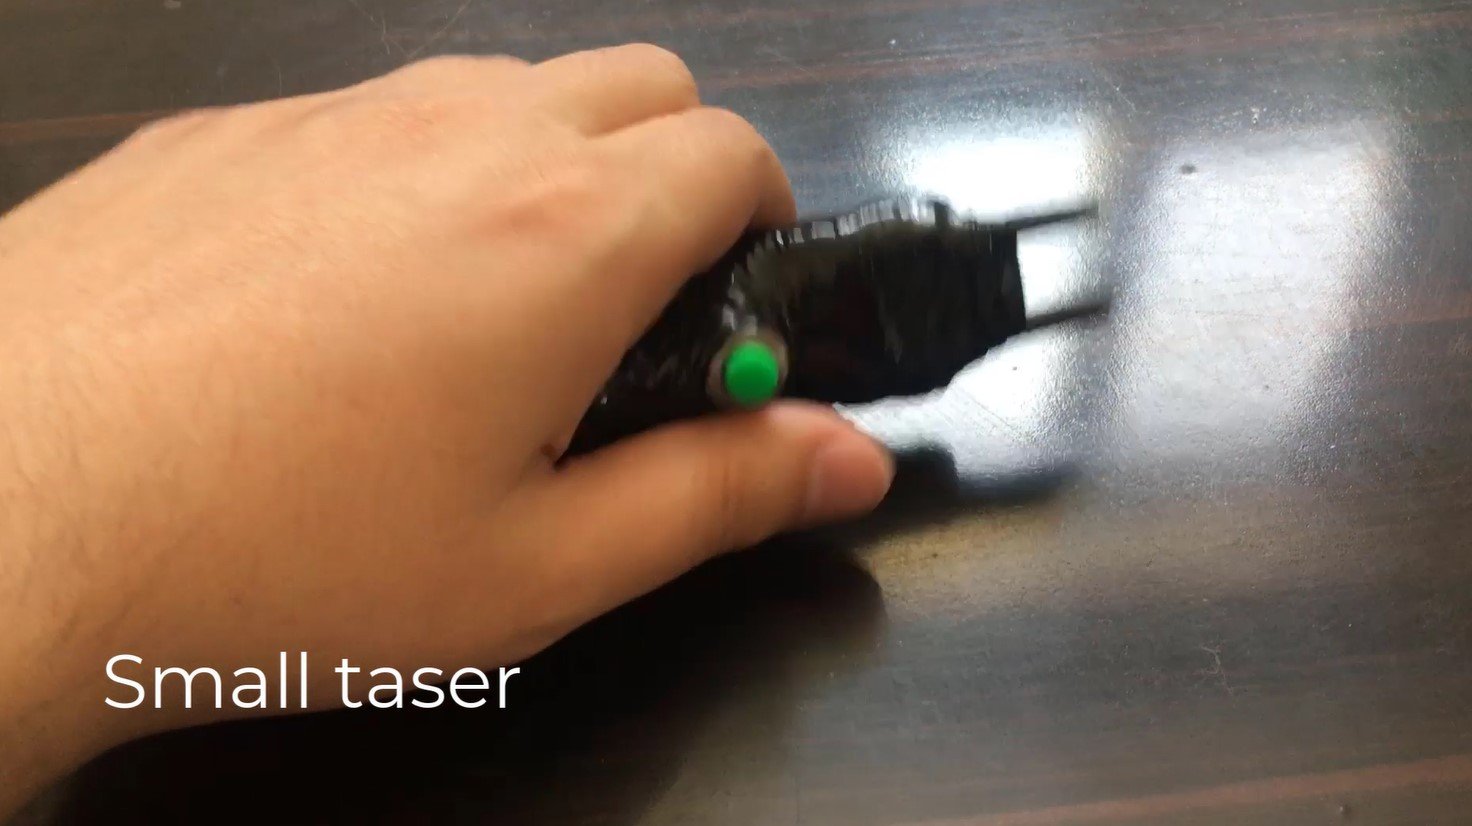
7. Assembly and Casing
- Place all components into a durable casing.
- Secure the high-voltage components with epoxy glue for safety.
- Leave openings only for the trigger switch, charging port, and sharp terminals.
- Allow the epoxy to harden before final assembly.
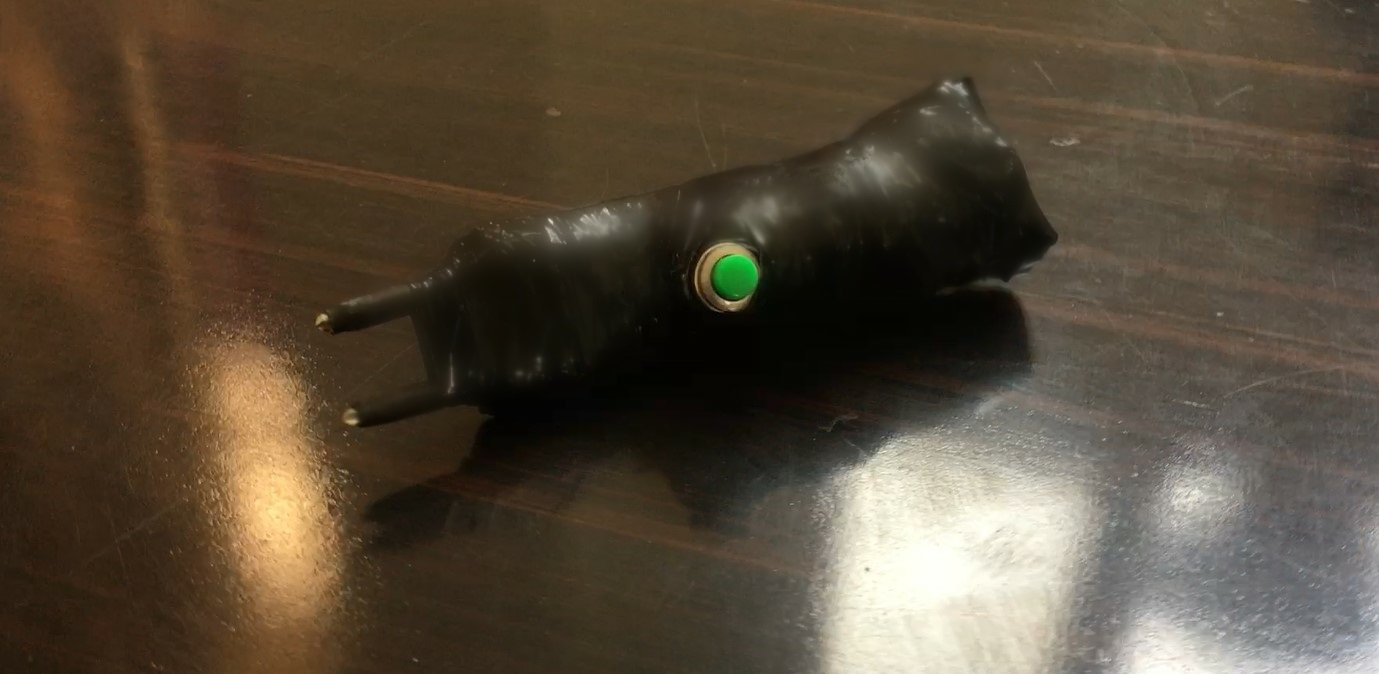
8. Testing and Finishing
- Test the taser to ensure it works as expected. Use appropriate safety precautions during testing.
- Once confirmed, wrap the casing with additional insulation (e.g., tape) for durability.
Safety Tips
- Avoid Direct Contact: Always handle the taser carefully. Even low currents at high voltage can be dangerous.
- Proper Insulation: Ensure all high-voltage connections are insulated with epoxy or fiberglass.
- Legal Compliance: Check local regulations before building or using a taser.
- Testing Precautions: Use insulated tools and gloves while testing the circuit.
Applications
- Self-Defense: A taser can be used as a non-lethal self-defense tool (ensure legal compliance).
- Educational Projects: Demonstrates the principles of high-voltage circuits and transformers.
- Research and Development: Exploring high-voltage applications in controlled environments.
By following this guide and prioritizing safety, you can build a functional, powerful taser while learning about high-voltage electronics.
Posted by Ali Aslan at Sunday 12th of January 2025 12:08:34 PM